Chocolate Strawberry Cake is built using five different recipes. Sure it may sound complicated, but you do it all the time without thinking about it. Just think when you make a cake you are using at least two different recipes. Here there are five different recipe to deal with. No problems since this is a piece of cake. Hahaha!
There is
- The Chocolate Cake (The Best Secret Chocolate Cake Recipe)
- Strawberry flavored (video is at Swiss Meringue Buttercream) this has the addition of strawberry jam so check out the recipe below
- Simple syrup (video at Simple Syrup) [quantities are different so I included the recipe and quantities here]
- Strawberry flavored whipped cream (video is at Flavored Whipped Cream with modifications, here again I have included a recipe and quantities for this cake
- Strawberry Flavored Gelatin Topping – see recipe below.
All of these recipe can be made ahead of time so when the assembly time comes it is only a matter of minutes. And it does not take all day.
Chocolate Strawberry Cake The ingredients. . . .
Ingredients for Chocolate Strawberry Cake
- Best Secret Chocolate Cake
- Strawberry Swiss Meringue Buttercream
- Simply Syrup
- Strawberry Whipped Cream
- Strawberry Gelatin Topping
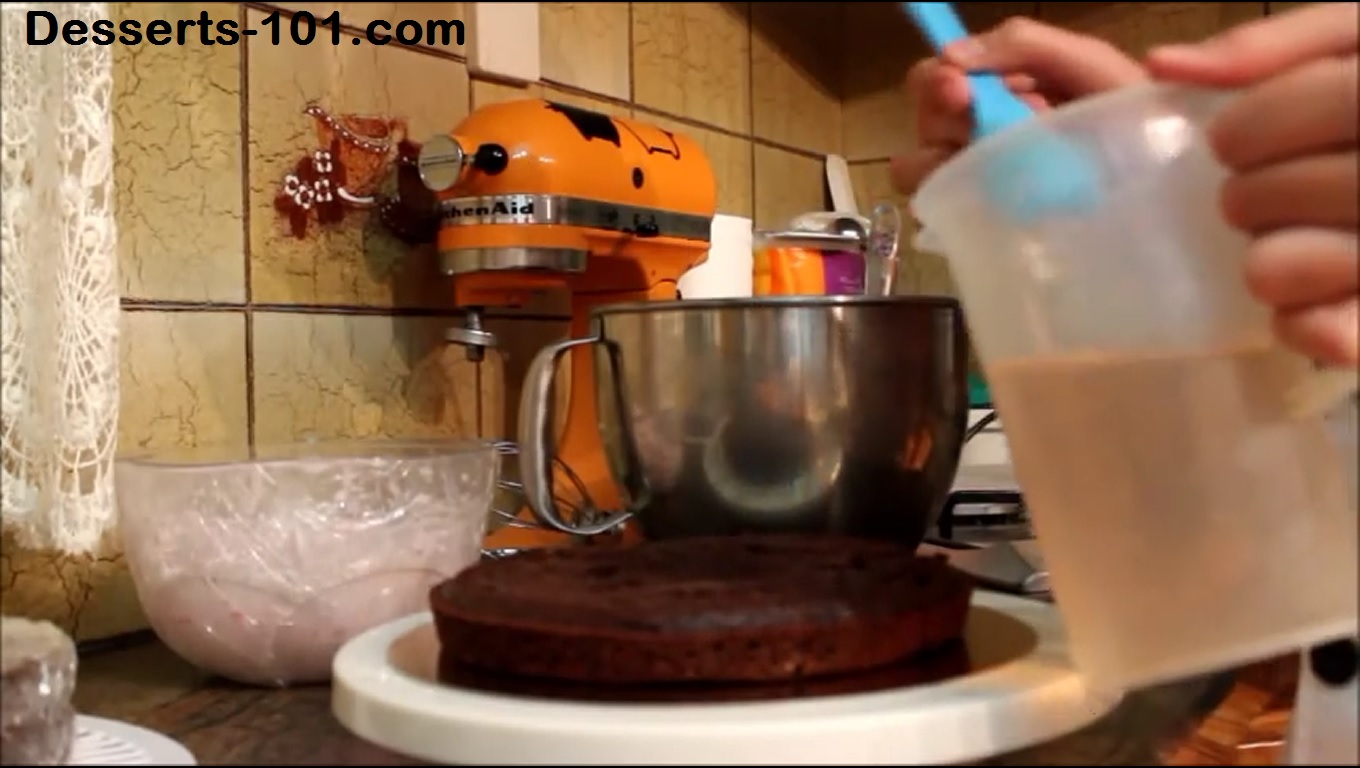
Chocolate Strawberry Cake – The Equipment
- Turntable
- icing spatula
- bench scraper
- cake icing tip and bag
- spatula
- Paper towels/parchment paper
- fondant smoother (optional)
- cake board
- pastry brush
- Large French star tip and pastry bag
- Ribbon – optional
- food coloring – optional for in recipes
- decorations – optional
Remember to trim the dome off the cake before assembling. Also the top layer should have a square edge on the top (not the trimmed edge) since we want sharp corners. Also I am only using three layers. You can bake the chocolate cake into 3 layers and trim the domes as needed or bake two layers, trim the domes and cut each layer into two pieces. The 4 layer is not used so make a small cake as a chef’s treat!
Putting it all together to make Chocolate Strawberry Cake
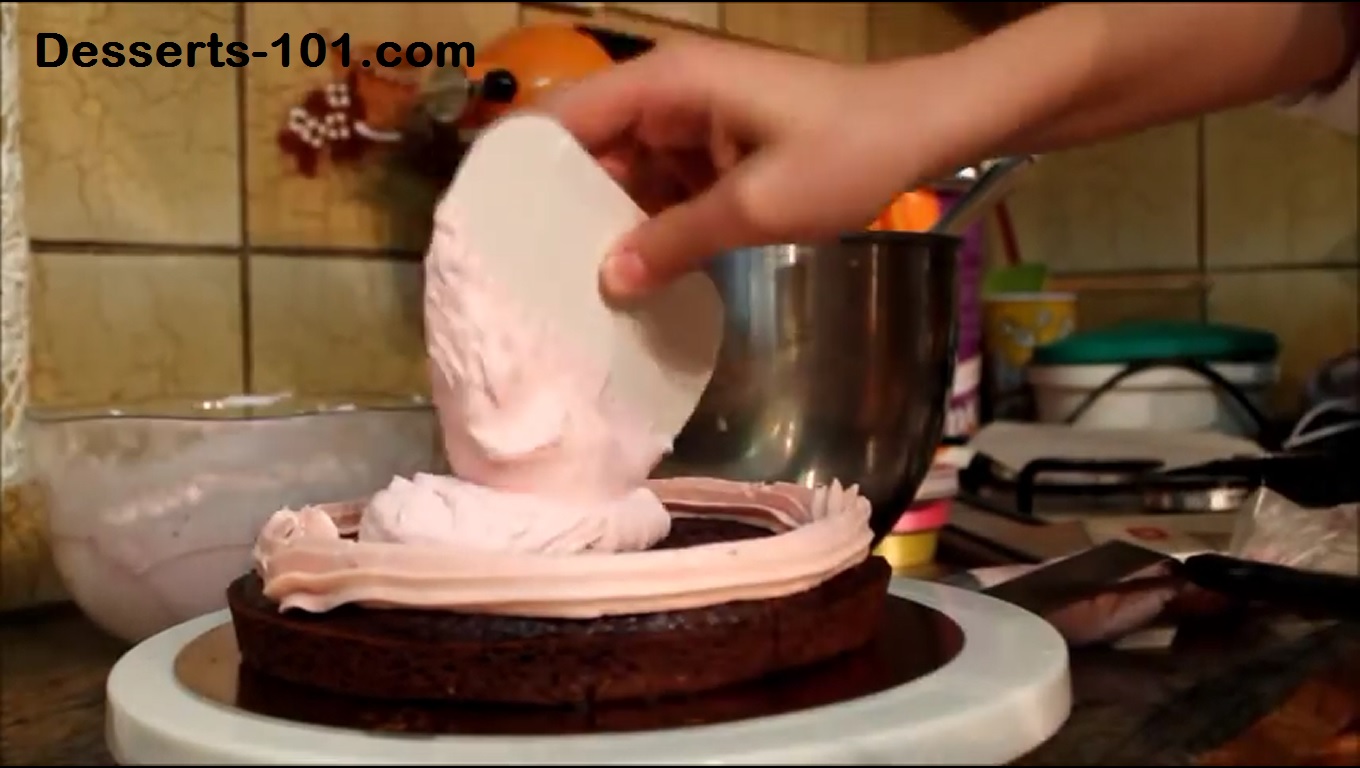
Place the bottom layer on a cake board on top of a turntable. Brush with simple syrup. Add a buttercream dam around the outer edge. Fill inside the dam with half of the whipped cream filling.
-

- Place the bottom layer on a cake board on the turntable.
-

- Place first layer on serving board and brush with simply syrup.
-
- Add a buttercream ring dam around the outer edge to keep the whipped cream filling from coming out.
-

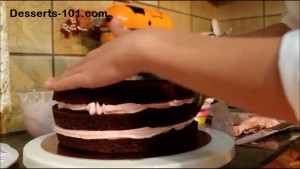
- Add the whipped cream inside the buttercream ring and smooth.
Place the middle layer on top, brush with simple syrup. Add a buttercream dam and fill with the remaining whipped cream.
-
- Add next layer on top.
-
- Repeat the simple syrup.
-

- Add a buttercream dam around outer edge.
-
- Fill with whipped cream.
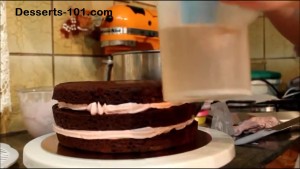
Add the top layer, remember you want a square edge on the top. Brush with simple syrup. Use the icing spatula to smooth the sides of the cake. This cake has a soft filling and should be chilled before continuing so place in the freezer for 15 minutes to allow it to firm up.
-
- Add top layer of cake on.
-
- Sprinkle with simple syrup.
-
- Smooth any icing coming out of sides. Place cake in the freezer to set for 15 minutes.
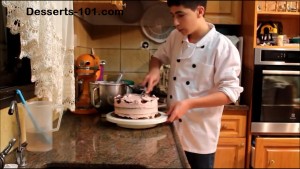
-
- Cake is out of the freezer and placed on turntable.
Time to crumb coat the sides and the top of the cake. Once this is completed, chill the cake in the freezer for another 15 minutes.
-
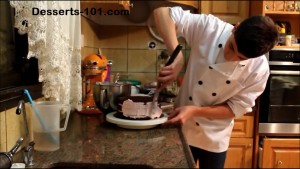
- Crumb coat the sides.
-
- Crumb coat the top. Place back in freezer for 15 minutes to set firm again.
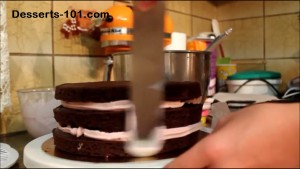
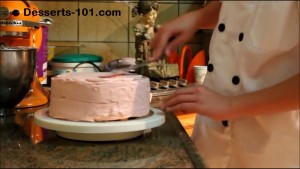
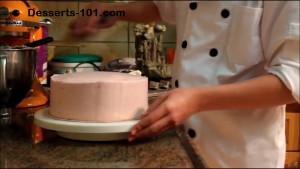
Time for the final icing coat. I like doing the side first, but you can do the top first if you wish. I am also using a cake icer tube to speed up the job.
-
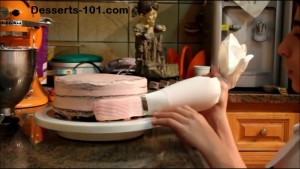
- Out of freezer and on turntable. I am using a cake icer tip to ices the cake sides.
-
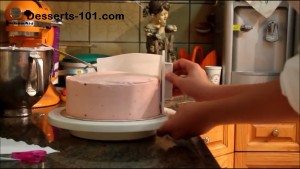
- Using the cake icer tip to ice the top.
-
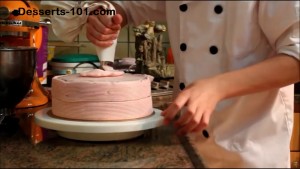
- Smoothing the icing with a spatula.
-
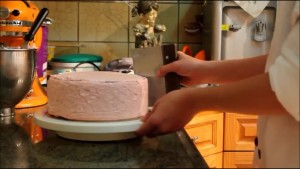
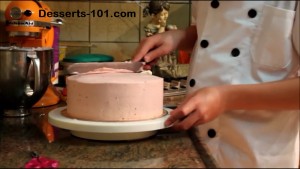
- Using a bench scraper to get a smooth edge.
-
- Removing excess icing from the top.
-
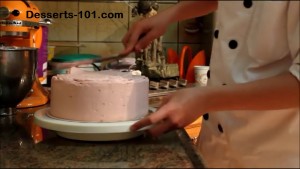
- A final smooth to the sides.
-
- Removing excess from the top.
-
- Use Viva brand paper towel placed against icing and use fondant smoother to smooth icing.
-
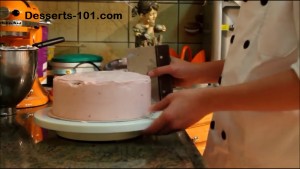
- Final smooth to the top of the cake.
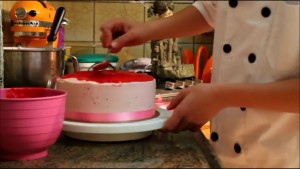
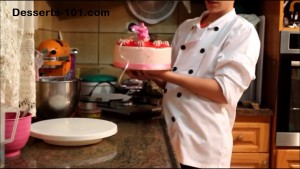
I like to put a pink ribbon along the bottom of the cake. Next spread the gelatin topping. Add butter cream rosettes and a center figurine decoration with a ribbon. Enjoy.
-
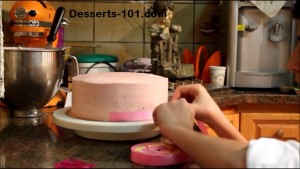
- Placing a pink ribbon around the bottom of the cake. Trim the end straight and work around the cake lightly pressing it in. When you meet, trip the ribbon straight so ends meet.
-
- Pour the cooled partially set gelatin on top of cake and smooth with spoon.
-
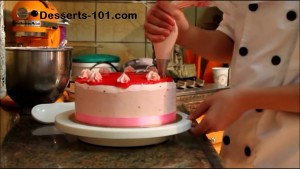
- Add decorative rosettes.
-

- Add a center icing mound to hold decorative figurine and ribbon. Enjoy
Chocolate Strawberry Cake with Sharp Edges Recipes
- 1 recipe The Best Secret Chocolate Cake Recipe
- 1 recipe Strawberry Flavored Gelatin Topping for Chocolate Strawberry Cake
- 1 recipe Simple Syrup Recipe for Chocolate Strawberry Cake
- 1 recipe Srawberry Flavored Whipped Cream for Chocolate Strawberry Cake
- 1 recipe Swiss Meringue Buttercream
- 5 tablespoons strawberry jam
- Prepare the Best Secret Chocolate Cake layer per recipe. I made the recipe into 3 thinner layers for this cake. When the layers are cool, wrap and place in the freezer.
- Prepare the Strawberry Flavored Gelatin Topping per recipe. Remember you want this thick but not set solid. The gelatin topping can be prepared during the last step of the decorating process while the cake is setting in the freezer.
- Prepare the Simple Syrup
- Prepare the Strawberry Flavored Whipped Cream. Remember this must be kept refrigerated until ready to use.
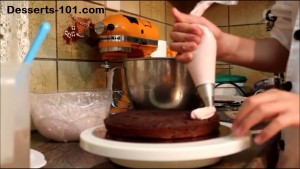
- Prepare the Swiss Meringue Buttercream per recipe.
- Add in the 5 tablespoons of strawberry jam and mix in with the mixer.
- Cover with plastic wrap until ready to use. This still be fine at room temperature for 4 days. It will store refrigerated for up to 2 weeks, however it must be brought back to room temperature and it should be paddled on the stand mixer to bring it back to the proper consistency,
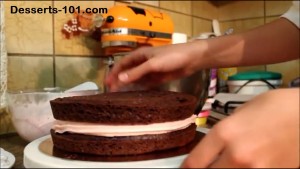
- Cake Layers - remove the domes as needed. If you only made 2 layers, you will want to cut your layers in half. You will only be using 3 layers so you will have an extra half layer.
- Put a small dab of buttercream on the cake board and place bottom layer on the cake board..
- Apply simply syrup with a pastry brush.
- Add a buttercream dam around the outer edge.
- Fill inside the dam with half of the whipped cream.
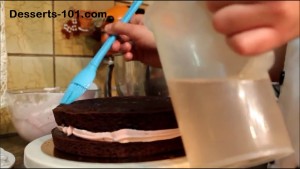
- Add the next layer and repear the simply syrup, butter cream dam and whipped cream.
- Add the top layer. this layer show be of the bottom cake layers with the square edge.
- Apply simple syrup to this layer.
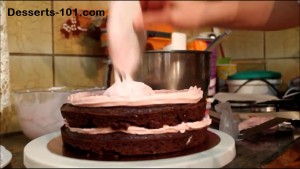
- Smooth any icing that has squeezed out from between the layers and freezer the cake for 15 minutes to allow it to firm up.
- Next crumb ice the cake. and freeze again for 15 minutes.
- Time for the final ice of the cake. Once smooth, add the gelatin topping, a pick ribbon to the bottom side and butter cream rosettes. Top with a decorative figurine and ribbon.
- Enjoy your prized cake.
- Note: this cake must be refrigerated because the whipped cream is perishable. Bring to room temperature about 30 minutes before serving.
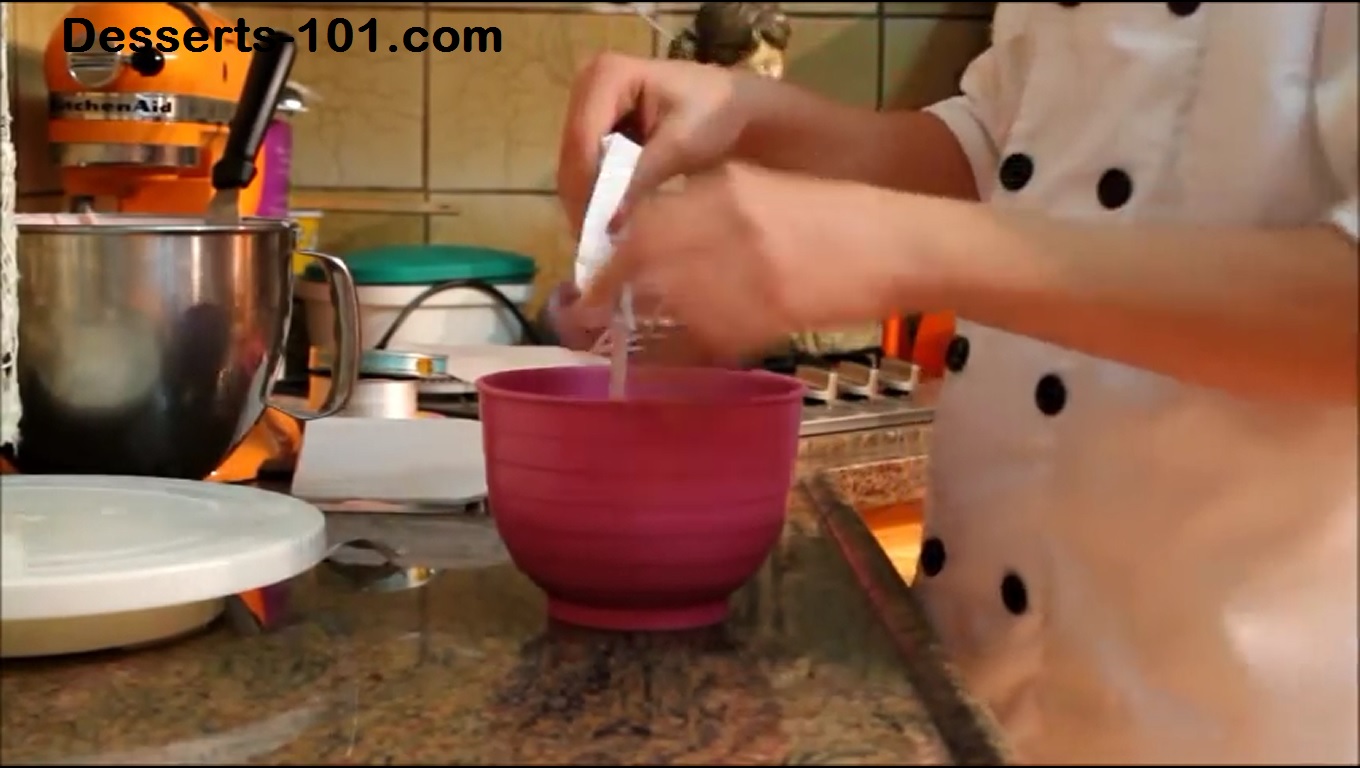
- ½ package Strawberry flavored Gelatin Mix (4-serving size package - 3 oz when sweetened with sugar)
- ½ cup boiling water
- Place the gelatin mix in a bowl.
- Add hot water and stir until the gelatin has dissolved.
- Allow to cool room temperature. Refrigerate as needed to allow the mixture to start to get thick.
- This recipe will be spread on the cake as a thick mixture so do not allow it to set firm.
.
- 2 Cup Granulated Sugar (400 g)
- 2 Cups Water (475 mL)
- Add sugar and water to a saucepan.
- Place on the stove on high heat and stir to until occasionally.
- Once the mixture comes to a boil, all it to boil for 30 seconds then turn off and heat and allow to come to room temperature.
- If you want to add a flavoring to your syrup add it once you remove it from the stove to cool down. Add flavoring to taste.
- Use when cool.
- 2 cups heavy cream (474 mL)
- ⅓ cup confectioner's sugar (40g)
- 2 tablespoons strawberry flavored custard mix
- Red Food Coloring - optional
- Make sure to have you mixer bowl and whisk well chilled.
- Add the heavy whipping cream to the mixing bowl.
- Turn the mixer on to medium speed and start whipping.
- Once the cream comes to the soft peak stage slowly add in the confectioner's sugar ad the strawberry flavored custard mix.
- Increase the speed to medium high and continue to mix. Do not over whip here. Whip until stiff peaks form. If desired add a drop or two of food coloring.
This whipped cream is stabilized by the addition of the custard mix, but desserts made with whipped cream are best served the day they are made. Desserts will keep in the refrigerator a few days.
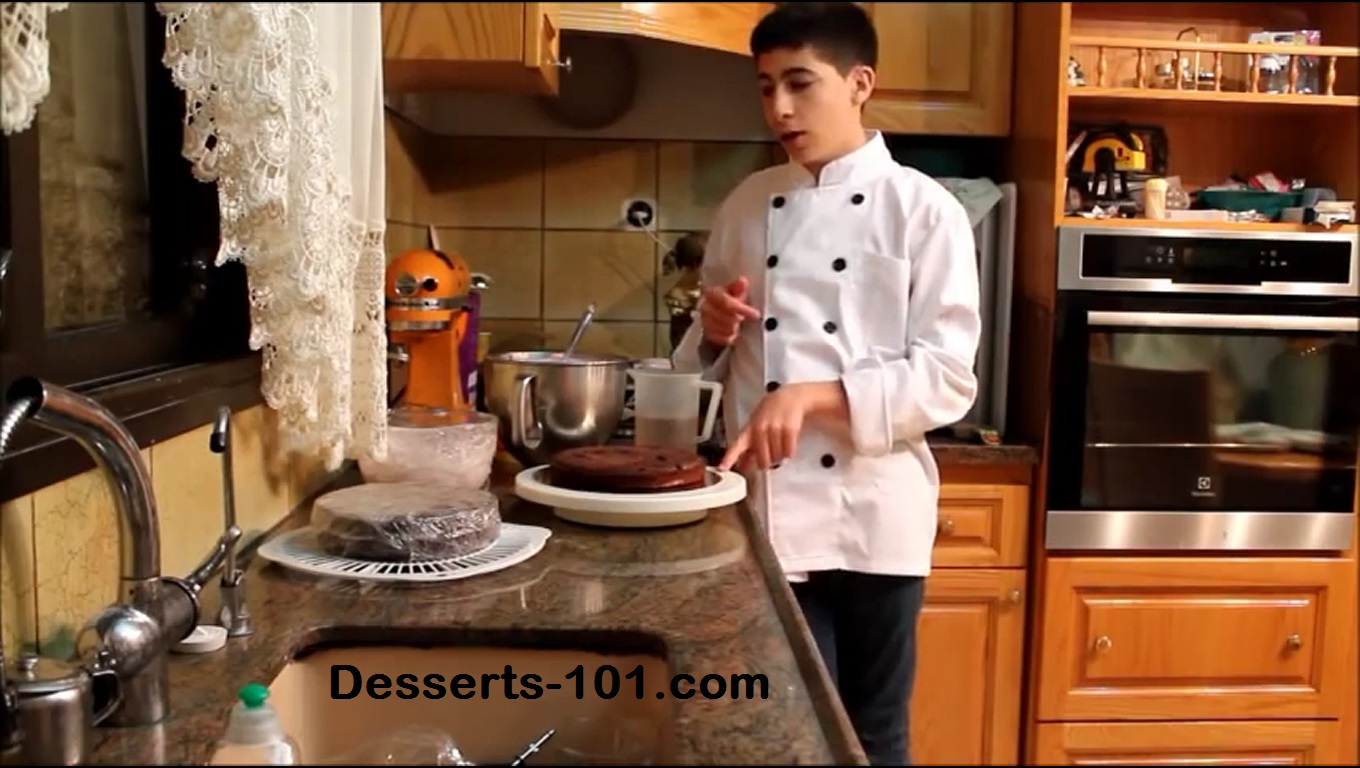
Watch a Video on How to make a Chocolate Strawberry Cake with Sharp Edges.