
How to Decorate A Cake With Sprinkles and Buttercream Roses
Decorating a cake is not super hard. Break it down into small steps and you can create your master piece everyone will envy. Here are some steps on how to do a simple cake. Ice the cake, add sprinkles to the sides, add flowers to the top, a border around to top edge, finish it off with some leaves and an inscription. Once you read through and give this a try you can see how it will be easy to apply the same technique to any cake produce. Now get decorating!
Starting Out
We are going to start with a dirty iced cake. The cake can be your favorite flavor. I am using my new and improved vanilla sponge cake and Swiss meringue buttercream, I have already baked and cooled the cake and did a crumb or dirty ice to the cake. After the crumb ice, I placed the cake in the refrigerator/freezer for about 15 minutes for the icing to set up so I can do the finishing ice.
Doing the final icing coat.
Once you remove your cake from refrigerator/freezer it is time to do the finish icing coat. Do this as soon as the cake comes out. The cold cake helps keep down crumbs from getting into the finish coat. I like to ice the sides of my cake first, then the top. There are many chefs out there who like to pile on a lot of icing on the top and ice the top first pushing the excess icing over the sides and then doing the sides, the choice is yours.
-
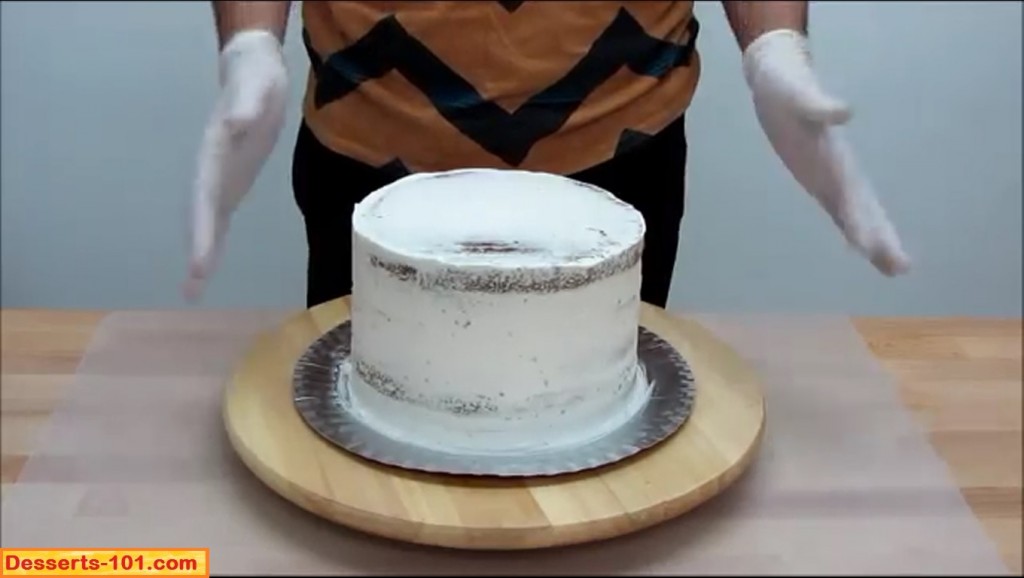
- Crumb iced two cake
-
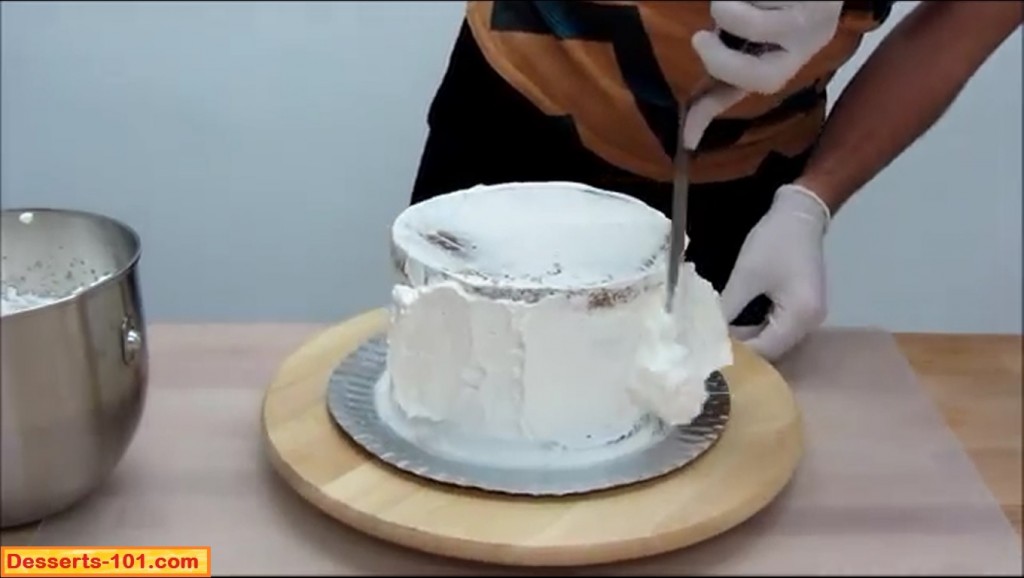
- Applying finish icing to sides.
-
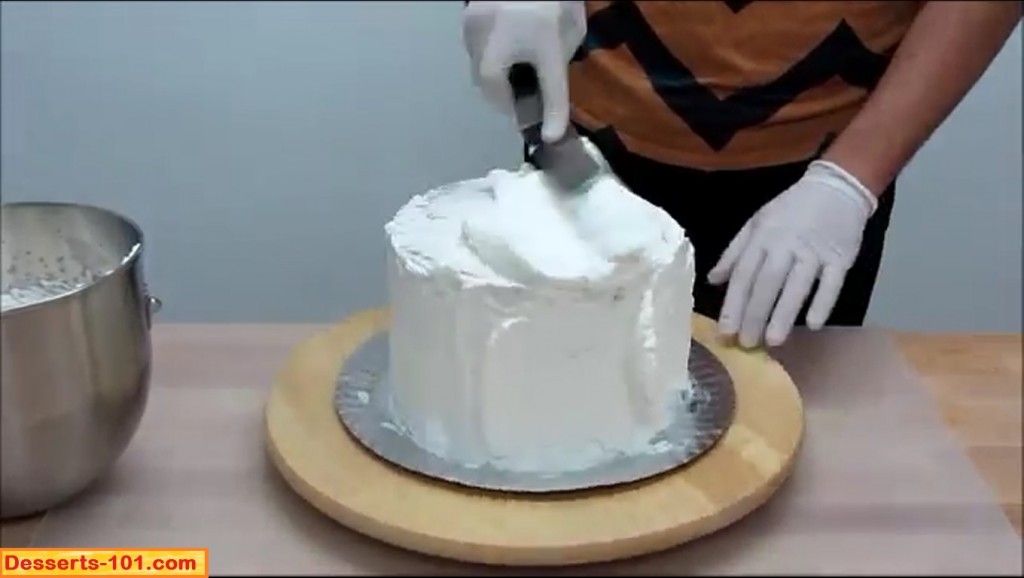
- Icing Top of Cake
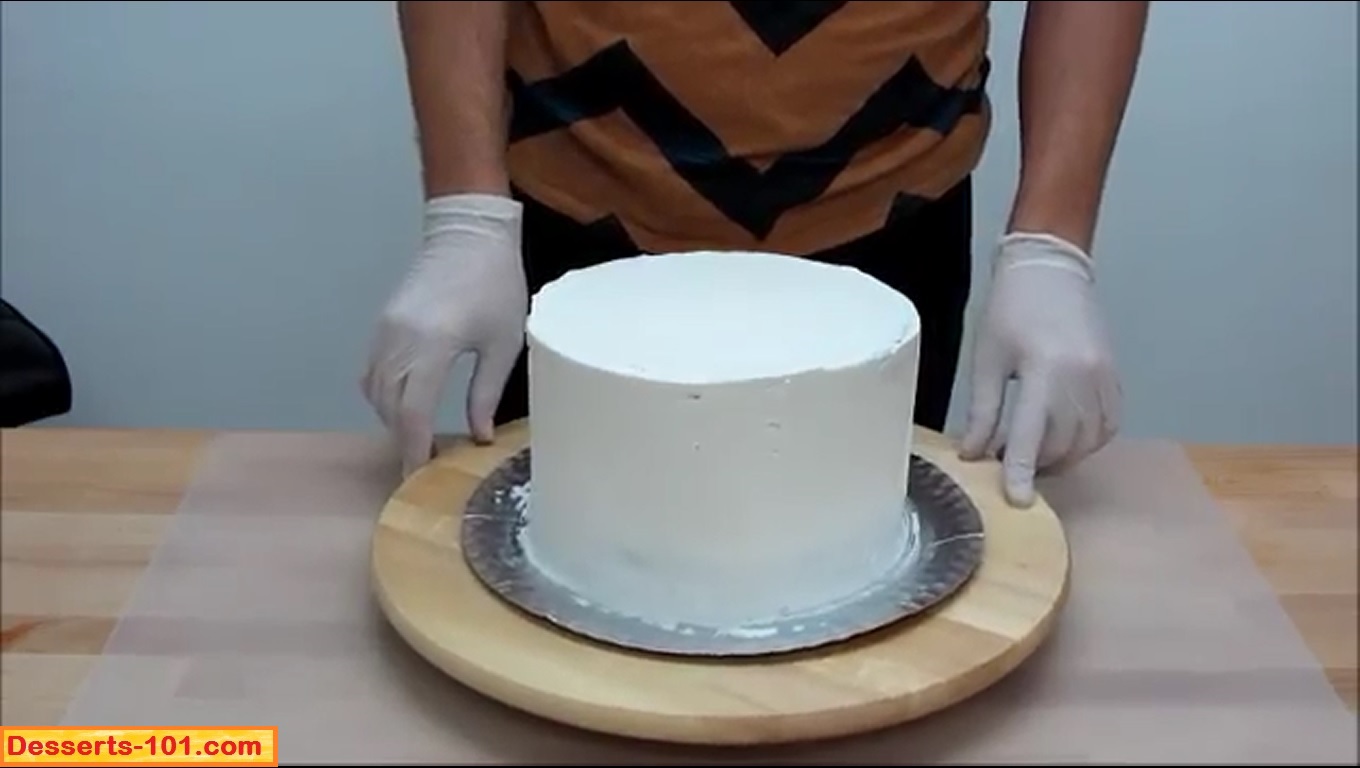
Decorating the sides with Sprinkles or Confetti
Now it is time to apply the sprinkles (or confetti as it is sometimes called) to the sides of the cake. To do this, it is best to place the sprinkles in a tray and then scoop handfuls and press into the sides of the cake. Wipe the extras off the cake board for reuse. Remember to save your left over sprinkles for use later.
-
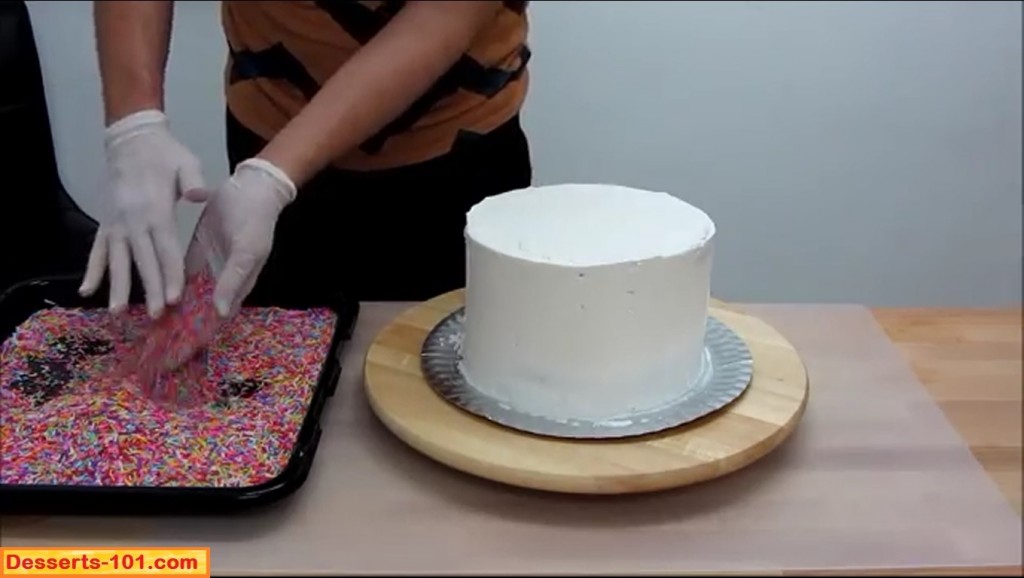
- Tray of sprinkles to used on sides of cake.
-
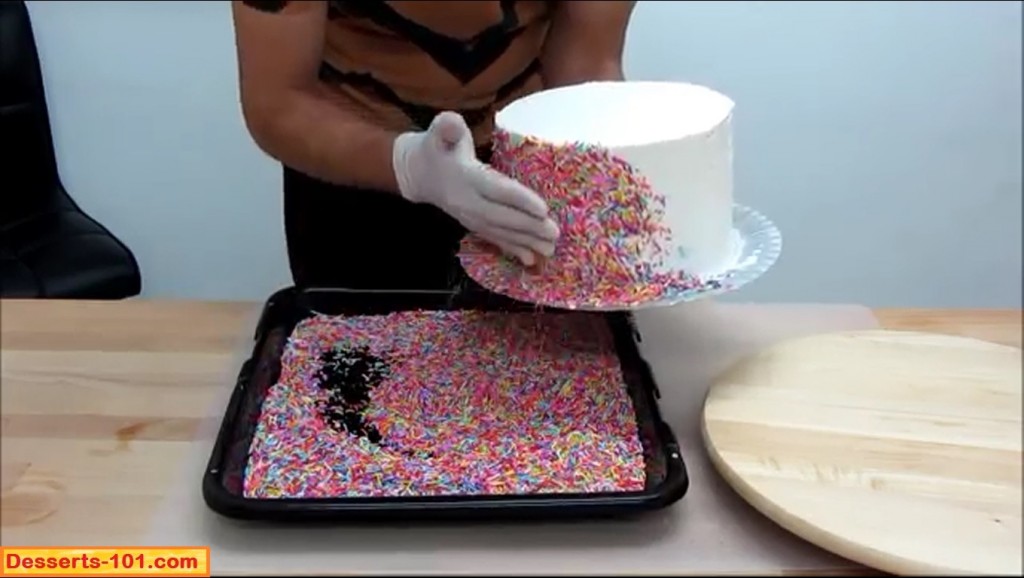
- Applying sprinkles to the sides of the cake.
-
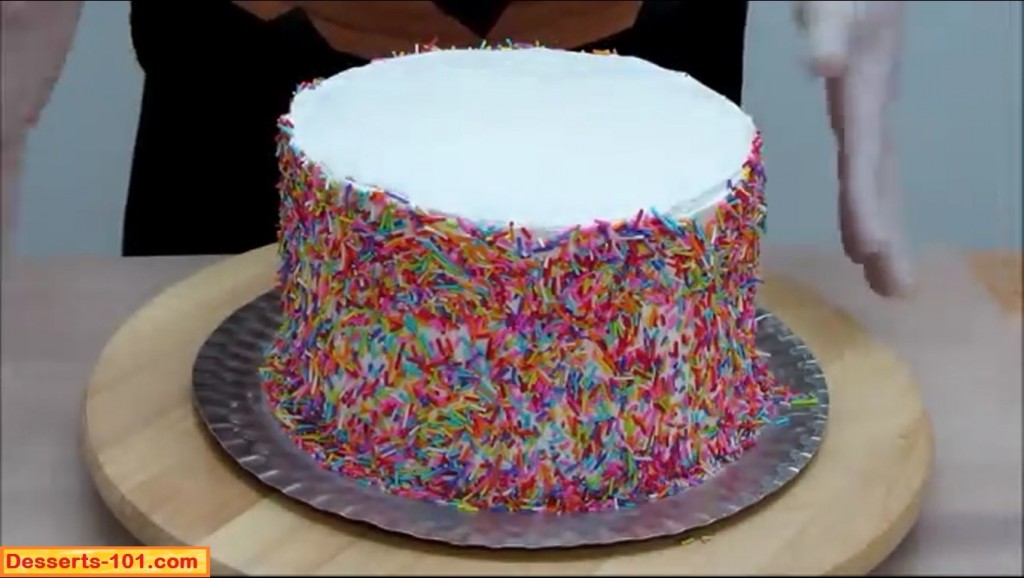
- Sprinkles have been applied and the base cake board has been cleaned up.
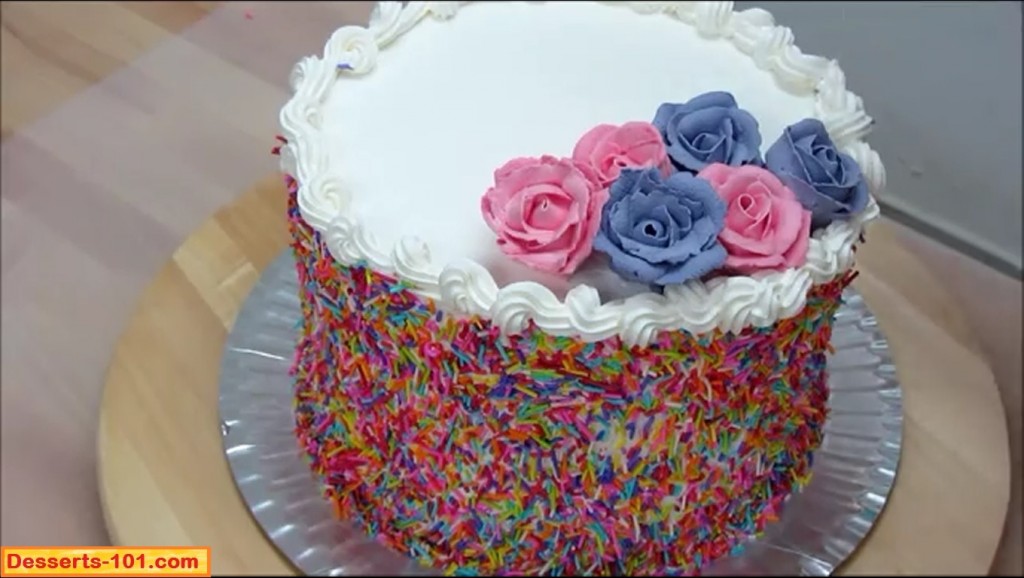
Roses and Flowers
I have my buttercream roses pre-made and kept frozen until ready to use. This gives me time to transfer the roses without destroying them. Don’t worry, the roses thaw very quickly. My good friend Gretchen over at Gretchen’s Bakery has two videos/recipes on how to make roses. If you are interested links to her blog page (also include her youtube videos) are How to Make Assorted Buttercream Roses (this is the basic style rose you see me use here) of her recipe/video How To Make Buttercream Roses (these are more advances, some with two tone and a few different styles.)

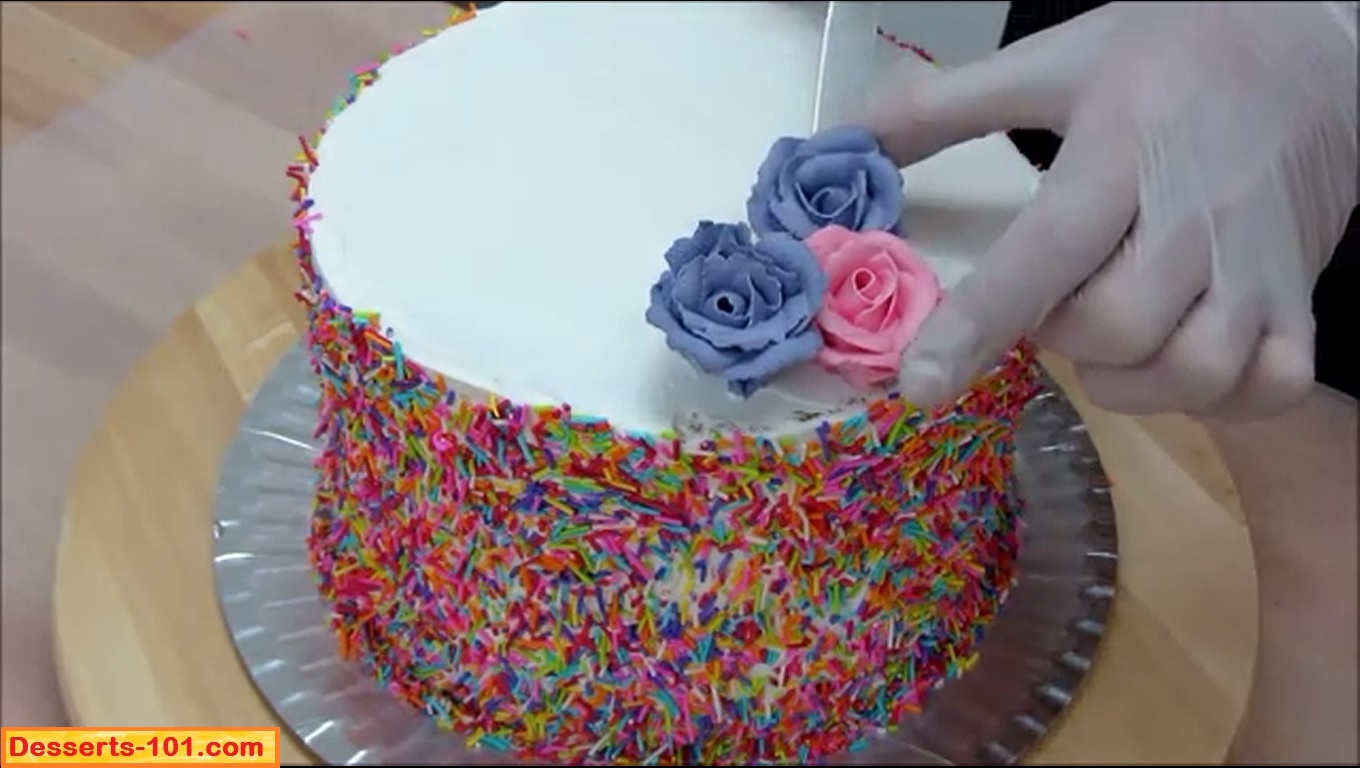
Time to apply the roses on top. If you want to be fancy you can add a few green stems and add the roses to the stems, but I have chosen to just place the roses onto the cake. With the roses frozen, they are easy to move using a small spatula or knife and can be placed as desired on the cake.
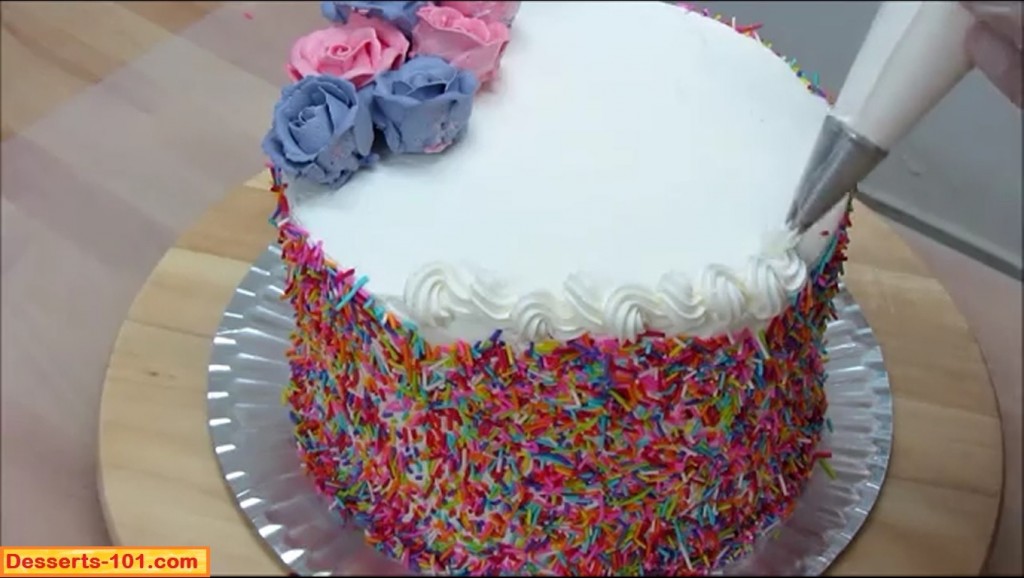
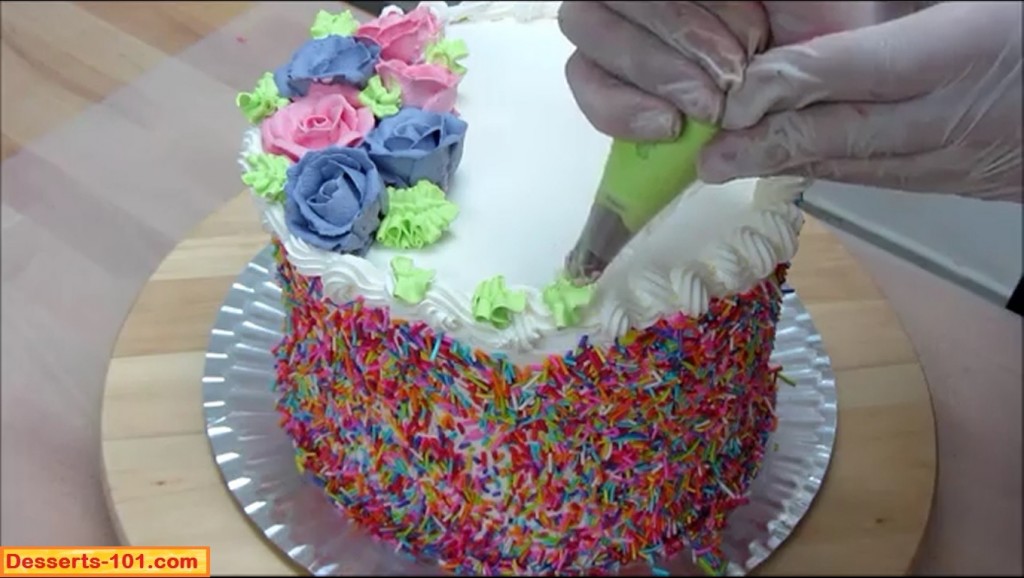
Top Border Around the Cake
Now I want to put a border around the top edge of the cake. The border will be done with a closed star tip inserted into a pastry bag filled with white buttercream. I will be doing a simple reverse loop border. This is where I make a loop to the right and then to the left as you make your way around the cake. I probably should of did this before I placed the roses, but I was able to get by them with problems. The video does a much better job at showing you how to do the border.
-

- Closed star tip in pastry bag filled with buttercream
-
- Piping reverse loop border around the top of the cake.
-
- Border completed.
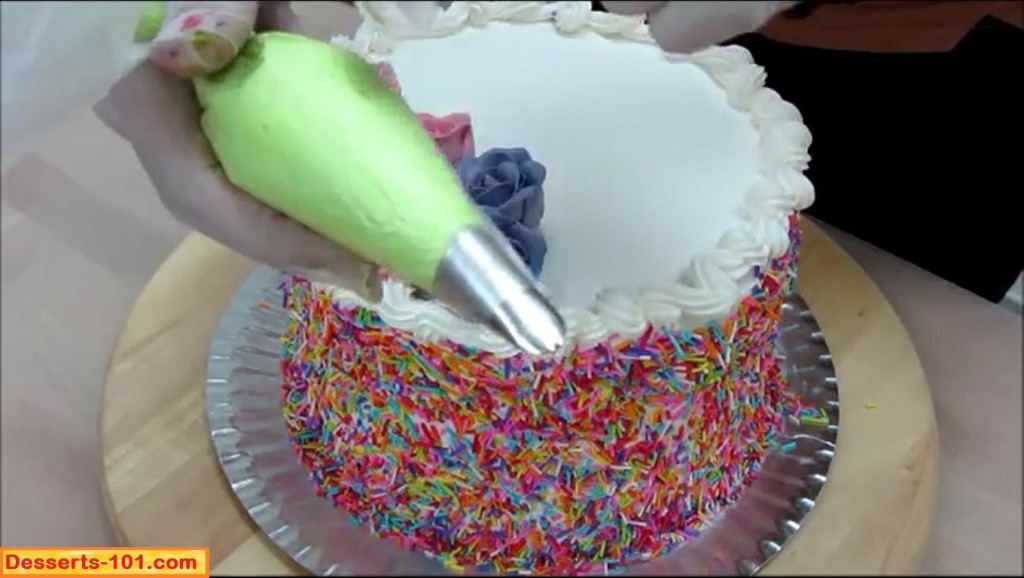
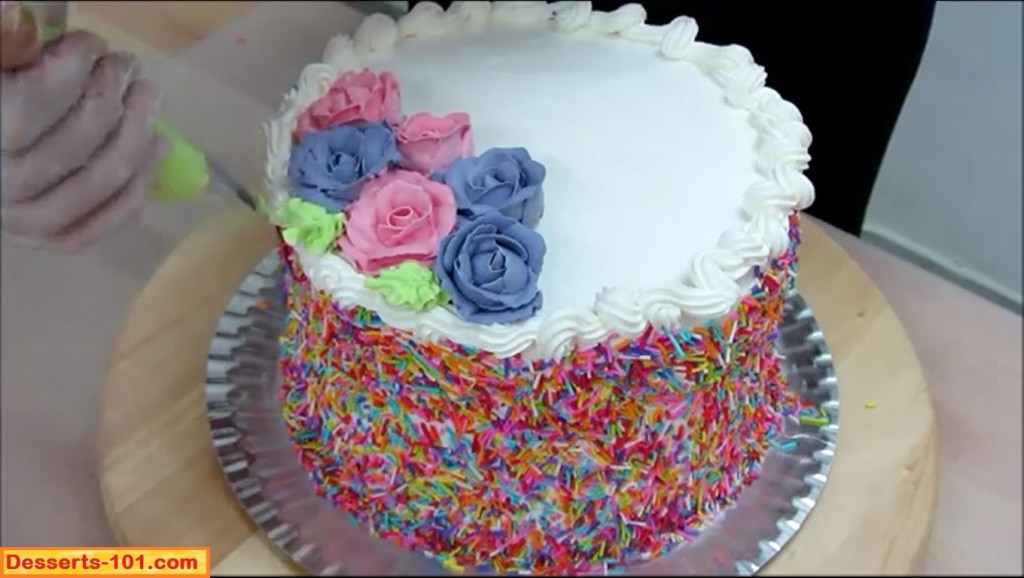
Adding Leaves
Next, make some green buttercream and place a leaf tip in a pastry bad and fill it with the buttercream. Pipe leaves around and in the roses in open spaces and to cover up imperfections in the roses. Add a few leaves to the top border as shown.
-
- Pastry bag filled with green buttercream and a leaf tip.
-
- Adding leaves around the roses.
-
- Add a few leaves to the top border.
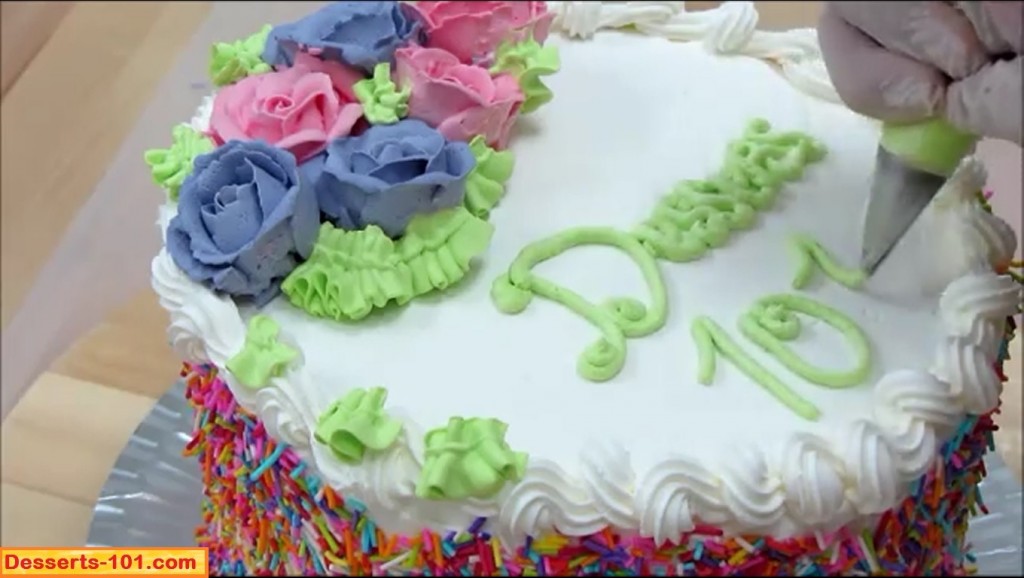
Adding the Inscription / Writing
Time to change the leaf tip to a round tip so we can write an inscription on the top of the cake. Since this cake is dedicated to the viewers and followers of Desserts-101 I wrote on the top of the cake “Desserts 101”
-
- Write inscription on the cake.
-
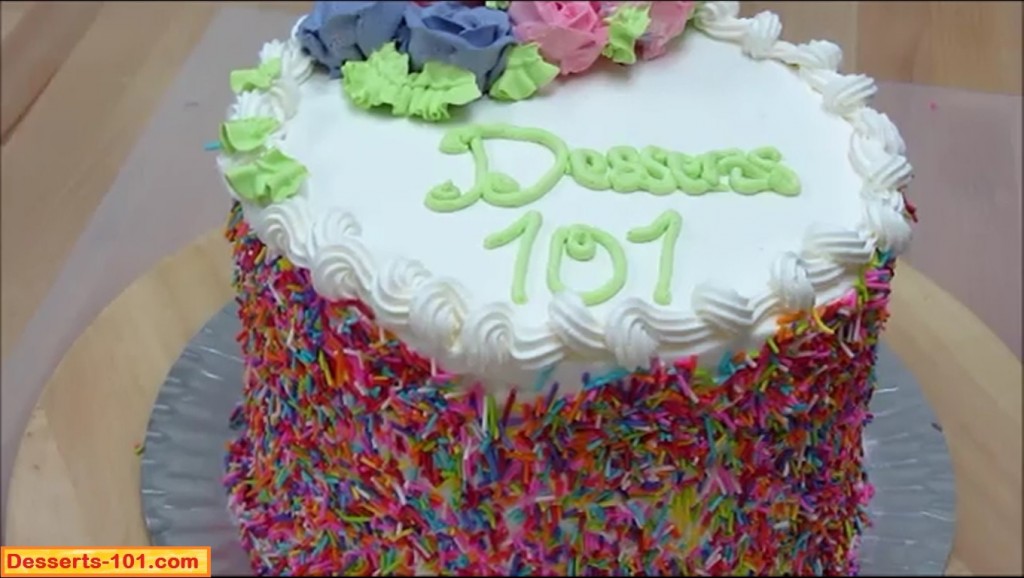
- Desserts 101 cake with sprinkles and buttercream roses
Tips
This technique on decorating cake can be applied to any cake. When you break it down into simple steps it is not very hard. Remember you do not have to do everything in one day at one time. If you are just making one cake that could take a few hours. Here are some tips to help things go easier.
- Make you cake layers ahead of time and once cool wrap well in plastic wrap and freeze for up to one month. When it is time to decorate, pull out of the freezer and allow to thaw for about 15 minutes before leveling and then proceed to dirty ice if necessary.
- Prepare the icings/frostings ahead of time. Many icings/frostings can stay at room temperature in a covered container for a day or two.
- When adding items to the sides of the cake such as cake crumbs, sprinkles, nuts, coconut, etc, place these items in a tray and scoop out of the tray and press them into the sides of the iced cake. Clean the cake board as you go along and remember the items in the tray can be saved and used on another item.
- Once you cake is dirty/crumb iced. Place it in the refrigerator/freezer for 15 minutes to set up before applying your finishing icing.
- Have a plan on how you want to decorate your cake before you start. It can be just a simple drawing but it sure helps in the end.
- Make your flowers and roses ahead of time and freeze. They are much easier to apply frozen. Must they be frozen? No, but they are much harder to place on the cake.
- Practice writing on plastic wrapped cake boards or pans to improve your skills. Reuse the practice icing over and over for practice.
Watch Me Decorate A Cake With Sprinkles And Roses.
- 1 recipe vanilla sponge cake baked into 2 8-inch (10-cm) layers
- 1-1/2 recipes Swiss Meringue Buttercream
- Swiss Meringue Buttercream (from above)
- Red Food Coloring
- Blue or Purple Food Coloring
- 1 pound (about 500g)Rainbow Sprinkles (Confetti) (you will have extra leftover, better to have too much)
- Pastry Bags
- Round Tube (Wilton #3 / Ateco #3)
- Closed Star Tip (Wilton #29 / Ateco #29 )
- Leaf Tip (Wilton #68 / Ateco #68)
- Rose Petal Tip (Wilton #104 / Ateco #104)
- Cake Board
- Wax/Parchment paper squares (for flowers)
- Flower Nail (to make flowers on)
- Offset Icing spatula (large)
- Offset Icing spatula (small) to place flowers on cake.
- Green Food Coloring
- Bake cake as per recipe.
- Make the Swiss Meringue Buttercream. I like making 1-1/2 recipes which should give me some extra for decorating.
- Make your flowers/roses using Wilton #104 / Ateco #104 tip and various colors as desired. Place in the freezer to freeze.
- Once the cake has cooled,,apply a dirty/crumb coat and place the cake in the refrigerator/freezer for 15 minutes to set up.
- Apply the finishing ice coat.
- Apply the sprinkles/confetti to the sides of the cake.
- Place the flowers/roses on the top of the cake. NOTE: If you have a desire for there to be stems, pile a Wilton #3 / Ateco #3 stem on the cake first and then place the flowers/roses on top.
- Pipe a reverse loop border around the top.
- Add leaves using Wilton #68 / Ateco #68 tip and green icing among the flowers/roses and around the outside. Also add some leaves along the top board to make it look prettier.
- Pipe an inscription on the cake using Wilton #3 / Ateco #3 tip and green icing.
- Cake is ready to be presented. Enjoy
This cake can be stored at room temperature (70 to 75ºF / 20 to 24ºC) for up to a week, but will start drying out after a few days. Store it in a covered container.
The finished cake can be refrigerated, but it should be brought back to room temperature about 15 minutes before cutting.


Very Pretty. I love the way your write on cakes.
AdapalInPa says 2fatguyscooking.com