Decorating Cupcakes Tutorial
In a few minutes you an learn to decorate cupcakes at a basic level. Sure they may not be the super fancy one, but they will me more than just cupcakes with icing spread on top.
It is not very hard to decorate. As a matter of fact it is quite easy, it just takes some patience and a little time. As you get better and better it will become second nature and you will be finished in no time.
We are using some basic tools found in my good friend Gretchen Price’s decorating kits. Click here for a more detailed explanation of the kits.
Gretchen was the Crumb Boss and ran the site mentioned in the video. As time moves on, the Crumb Boss era came to and end and the site is no longer active, but the good news is Gretchen has the kits available on her new site at Gretchen’s Bakery.
I did not show how to fill a pastry bag. This has given me an idea for a new video in the future. Once you fill the bag (remember half way at most), twist the bag and tie the end with a baggie tie or you can even buy special bag ties to help prevent the icing from coming out the top while you are pressing/piping your decorations.
The techniques here can be used on other items not cupcakes alone. Cookies can be decorated with some buttercream just like cupcakes. The tip do not have to be using in continuous motions like I have shown here. You can pipe stars, shells, rosettes, lines, scrolls, strings by changing how you squeeze the bag, hold the tip and the motion of the tip/bag.
Let’s Decorate Some Cupcakes
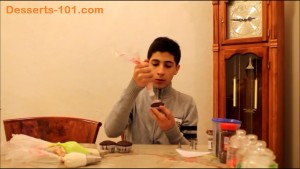
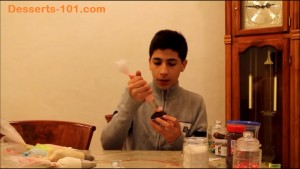
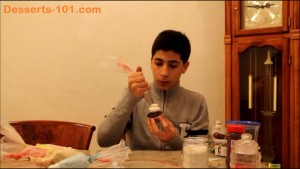
Using different disposable pastry bags filled with different icings, tubes etc. We will be decorating cupcakes. It does not matter what kind of cupcake we are showing technique today.
-
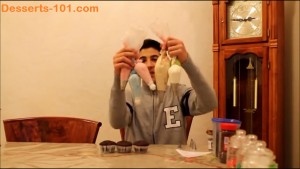
- Disposable Pastry Bags. Notice the bags are tied off with wire tips to prevent icing from backing out the fill end.
-

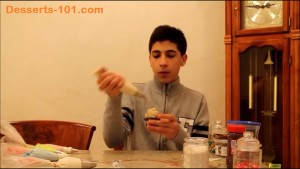
- A two piece coupling on a pastry bag.
-
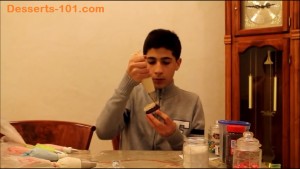
- Installing a tip on a coupling.
First a simple swirl using the Ateco #23 star tip. Start in the center, holding the bag vertically. Squeeze and work around to the outside.
-
- Piping on a cupcake holding the bag vertically, squeezing and moving in a circular motion from the center to the outside to create a spiral pattern.
-
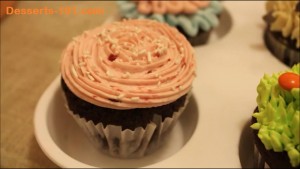
- The finished cupcake which is decorated with white sprinkled.
The Ateco #234 Grass tip is used to pipe grass ontop. Candy coated pieces are added on top.
-
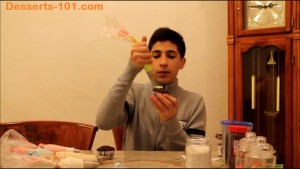
- Piping with the grass tip to ice a cupcake.
-
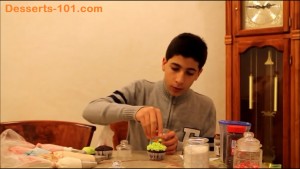
- Adding cany coated pieces.
-

- Finished grass topped cupcake.
Ateco #826 us used to pipe a swirl and topped with chocolate chips.
-
- Using the large Ateco #826 star tip in a spiral motion to ice the cupcake.
-
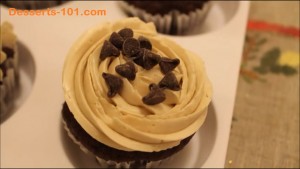
- Finished cupcake with some chocolate chips added.
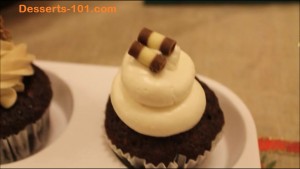
Ateco #826 tip is used to pipe a swirled mound and topped with a piece of chocolate candy.
-
- Using the Ateco #826 to pipe a mount of icing.
-
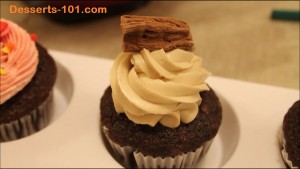
- A piece of chocolate candy for decoration.
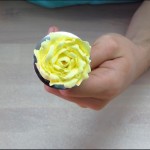
Ateco #866 tip is used to pipe a swirl and tipped with an assortment of quins/decorations.
-
- Using the Ateco #866 French Star tip to pipe a swirl on a cupcake.
-
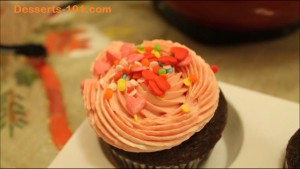
- Finished cupcake with assorted quins/decorations.
Ateco #8 round tip is used to pipe a mound of icing. Small chocolate straws are the decoration.
-
- Using an Ateco #8 straight round tip to pipe a mound of icing.
-
- Topped with chocolate straws.
Ateco small coupler with no tip is used to pipe a mound of icing. This would be similar to using an Ateco #8 round tip. Chocolate sprinkles (jimmies) are the decoration.
-
- Using a straight coupler with no tip to pipe to mount.
-
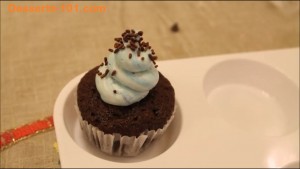
- Decorated cupcake with chocolate sprinkles (jimmies)
Ateco #104 petal tip is used to pipe a ruffle around the edge. Two different color ruffles are piped here with an Ateco #826 star center.
-

- Using the Ateco #104 petal tip to pipe a ruffle on a cupcake.
-
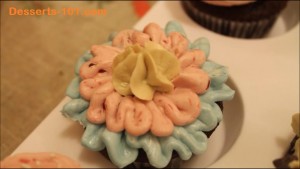
- The finished cupcake.
Now you have some basic techniques try them out and you are on your way.
See how easy it is!