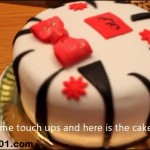
Cutting and Assembling a Cake is Easy once You Have Your Mise en Place (Everything Prepared)
Think about it. What is the difficult part of almost any cooking project. This is measuring and gathering you ingredients. This greatly applies to baking and cake decorating.
What is the big saying in carpentry? Measure twice and cut once. Well the same rule should apply to baking. Measure twice and do the recipe once. How hard can it be to measure? Thing about measuring a 1/3 cup of vegetable shortening. Do you use the water method – or do you fill a 1/3 cup measuring cup. And then the clean up. How about measuring it by weight with a scale. Zero the scale, add the shortening to the proper weight and you’re done. But remember, always review you ingredients and measure them twice.
Lay your ingredients out after double checking them twice. Then look over the recipe again verifying that you have the correct ingredient, correct amount specified, correct temperature and all your ingredients.
Baking and mixing is half the battle in make in layered cake. The other half is assembling. Today you learn how to cut and assemble a cake. From scratch meaning the cake and frosting has all ready been prepared, the ingredients needed are at hand. Doing this an your life instantly becomes less frustrating.
Along with the cake and frosting/icing/filling we need some other items.
- Cake Board to assemble your cake on. This can be a foil backed board like I am using, or a regular cake board that you cover with foil or a doily , a plain cake board uncovered, a serving platter. Many many options here.
- Cake Decorating Stand or a Lazy Susan. If you buy a professional quality cake decorating stand, make sure you get a sturdy one that resolves. If you want to go cheap you can buy a smaller lazy Susan. It all depends on how many cakes you plan on doing. A cake stand that does not rotate can be used, but you will see it is much more difficult, but most of use will not be using any like of turntable so it is just a tad more difficult, but you can overcome.
- An Offset Cake Decorating Spatula. Why offset? Because it helps keep you finger and knuckles off the cake surface. Can I use a straight cake decorating spatula? Sure you can but once you see an offset one in use you will want on too.
- A large Serrated Knife or a cake leveler. Why? You have a domed cake and need to trim it off. Many times layers are cut into multiple pieces and assembling giving the feel of a richer cake with more layers. I will show you how to use a serrated knife and the decorating stand or lazy Susan to level and cut layers. There is a wire cake leveler which looks like a huge fork with no tines and wires running from side to side. The idea here is you adjust the wires to where you want them and then run them through the layer making your job easier.
- Pastry Bag – A pastry bag or a cake decorators bag is a great help. I use the pastry bag to apply the icing/filling between the layers to help eliminate crumbs. Sure you can just plop on a mound of icing and spread it with your offset spatula, but I feel I get less crumbs using the bag. I have my bag fitting with a large opening tip. It really does not matter if the tip is a star or round tip. You really do not even need a tip.
- A squirt bottle. Applying simple syrup is not done on every cake, but when you do you need some type of bottle. Here I am using something similar to a condiment squeeze bottle. In a previous video I have use a bottle where I put holes in the lid and it looked like I was using a sprinkling can. The choice is your.
- A damp towel. Why damp, it wipes up spills easier. Remember to wipe up as you go along. Keep you kitchen and work area neat at all times and then when you are done, clean up is that much easier.
- Gloves – graded for handling food. Do you need them at home? Not really, but it is more sanitary to wear gloves when handling food. It is also a health code requirement in a professional food handling environment. Any foods which are not bakes workers are usually required to wear protective gloves. And when they get dirty change them. Don’t put one pair on and do everything. Gloves do no good at preventing disease transmission if you wear only one pair and touch something contaminated and go on to touching food which will not be cooked and eaten by people.
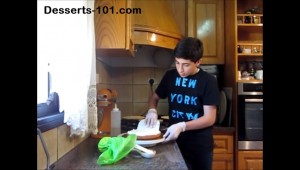
Cutting the Cake Layers
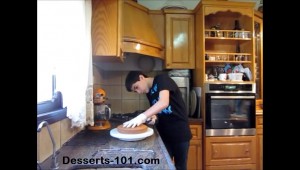
Position you serrated knife parallel to the base of the cake where you want to cut it. Turn the decorating stand/lazy Susan while using a sawing motion with the knife to make a score line the first time around. Keep turning and sawing cutting deeper and deeper until you are through the cake and it is in two pieces. Lift off the cut layer and transfer for storage. Continue cutting layers until all cutting is done. If you have to cut off a high dome, cut that off first before cutting your layer into smaller layers.
-
- Showing where to place knife when cutting cake in half, keep it level with the base where you want to cut.
-
- Make a line all the way around the cake, just scoring not very deep.
-
- Follow you guide line and keep slicing deeper until the level is cut in half.
-

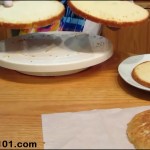
- Remove the half layer with care so you do not break it.
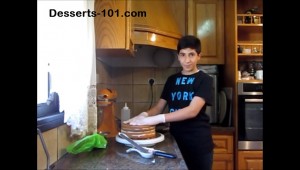
Assembling the Cake
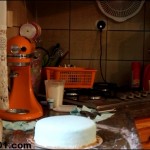
Gather your supplies to assemble the cake. I have my lazy Susan, cake board, filled pastry bag (I am using whipped cream here), offset spatula, bottle of simple syrup, prepared cake layers and I am wearing gloves. The first thing I do is put a dab of icing on my cake board to act as a glue to keep the cake from slide on the board. Then I position the layer.
-
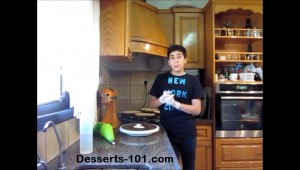
- Items to assemble a cake. Turn Table, Cake Board, Offset Spatula, Icing and Simple Syrup, Pastry bad with tip.
-
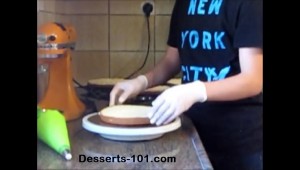
- Place bottom layer on cake board which has a dab of icing on it to hold the cake secure.
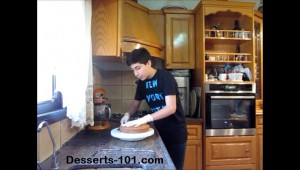
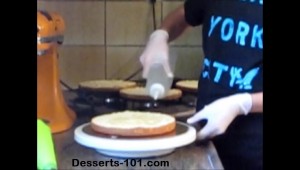
Now I sprinkle the simple syrup over the layer. I use a pastry bag to pipe the filling (whipped cream) onto the layer then smooth it out with an offset spatula and finish it off (this part is optional) with a smooth edge of a plastic dough scraper. Placing the next layer on top. Repeat until you place the top layer of cake.
-
- Sprinkle Simple Syrup all over the cake layer.
-
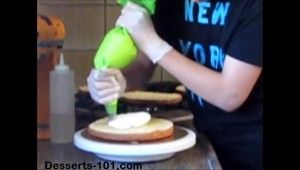
- I am using a pastry bad to add the whipped cream filing to keep crumbs to a minimum.
-
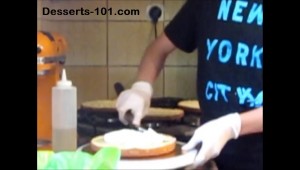
- Smooth with an offset spatula.
-
- Optionally smooth with a wide flat dough scraper.
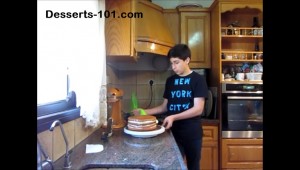
Place the top layer on. Now it is time to ice the outside of the cake. I am going to demonstrate using a pastry bag and piping some icing (whipped cream in this case) around the middle side of the cake then smoothing it with an offset spatula. Then I ice the top smooth same as I did between the layers.
-
- Last layer added now it is time to crumb coat.
-
- I use the pastry bad to add icing to the sides. Level with offset spatula. Then I add icing to the top and level.
Finishing off the Outside of the Cake
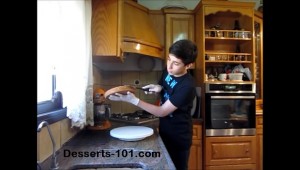
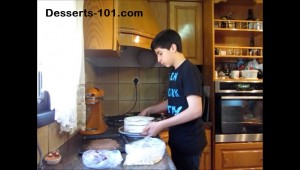
My cake is now crumb iced. I want to add chocolate shavings to the sides and the top of the cake. To do this I spread the shaving in a pan, then while holding the cake, pick up a handful of shaving and press into the side of the cake letting the extras fall back into the pan. Brush off any extras remaining on the back board back into the pan with a finger.
-
- Cake has been crumb iced.
-
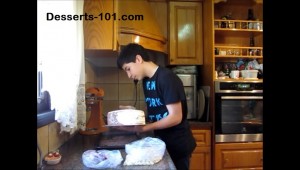
- Adding chocolate shavings to the sides. Notice shavings are in a pan and I let the extra fall back and reuse.
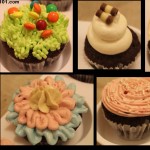
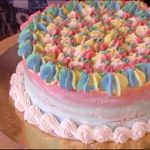
Spread the top of the cake with chocolate shavings and finish decorating by adding some cherries as shown.
-
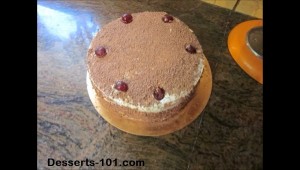
- I also added shavings to the top and some cherries.
-
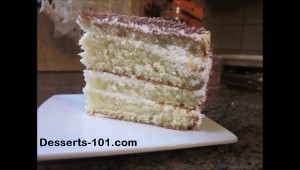
- Slice of my finished cake.
Watch as Cut And Assemble A Cake From Start to Finish