How to make buttercream roses.
Learn how to make buttercream rose using a pastry bag fitted with a petal tip and a flower nail. The completed buttercream roses and then placed on parchment paper so they can be frozen prior to placing on a cake and the additional of leaves.
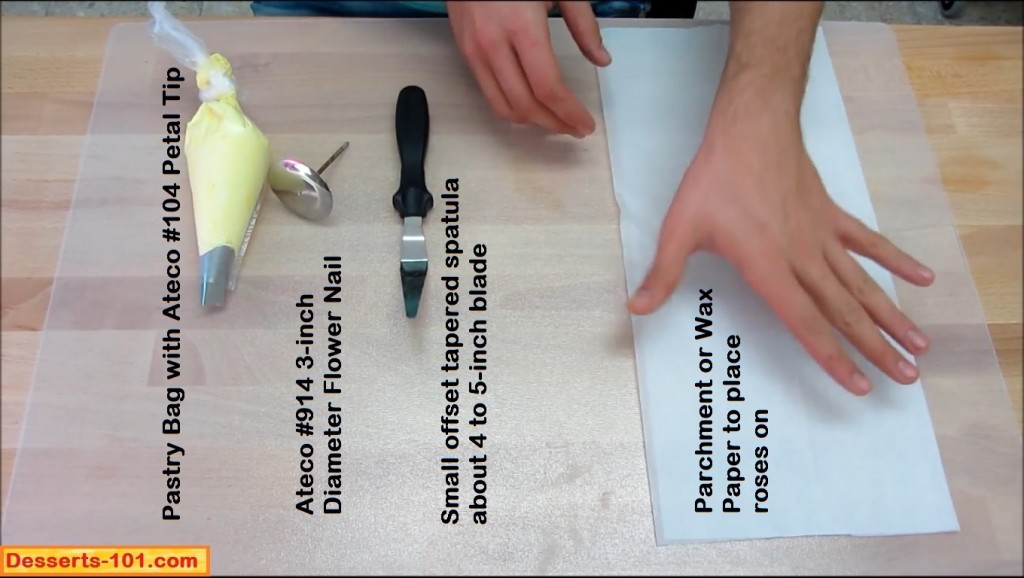
Equipment Needed
- Buttercream Icing – this should be a stiff consistency and colored as desired.
- Ateco #104 or Wilton #104Petal tip or a petal dip you desire. This should be fitted into a pastry bag.
- An offset tapered spatula. Your choice of brands. Ateco makes a 5-inch one. Fat Daddio’s Also makes a 5-inch one.
- Flower Nail – Ateco #914 is a 3-inch diameter nail (Large).
- Ateco #68 Leaf Tip
- Pastry Bags
- Parchment or wax paper.
- Note: The Ateco #104 petal tip, the #68 leaf tip, the Ateco #914 flower nail a pastry bag and coupler are available from GretchensBakery.com as part of a the essentials kit.
Note the petal tips is wider at one end. In normal use, the wide end is at the bottom.
Starting the base of the Buttercream Rose
I like piping directly on top of the flower nail and then transferring the completed rose to a piece of parchment paper, but if you desire you can cut some pieces of parchment paper up into squares and use a dot of buttercream to hold the parchment paper on the flower nail and then proceed making your buttercream rose.
The first thing is to pipe two rings of buttercream in the center of the flower nail so we can build the rose on. You need somewhere to anchor the buttercream as you build your rose. (Some people prefer to pipe of mound of icing the choice is yours.) The wide side of the tip should be toward the outside with the narrow (skinny) side towards the center.
- Place a ring of buttercream to start building the center of the rose.
- Pipe a 2nd ring on top of the first ring so you can build your rose on it.
Pipe the center bud of the buttercream rose
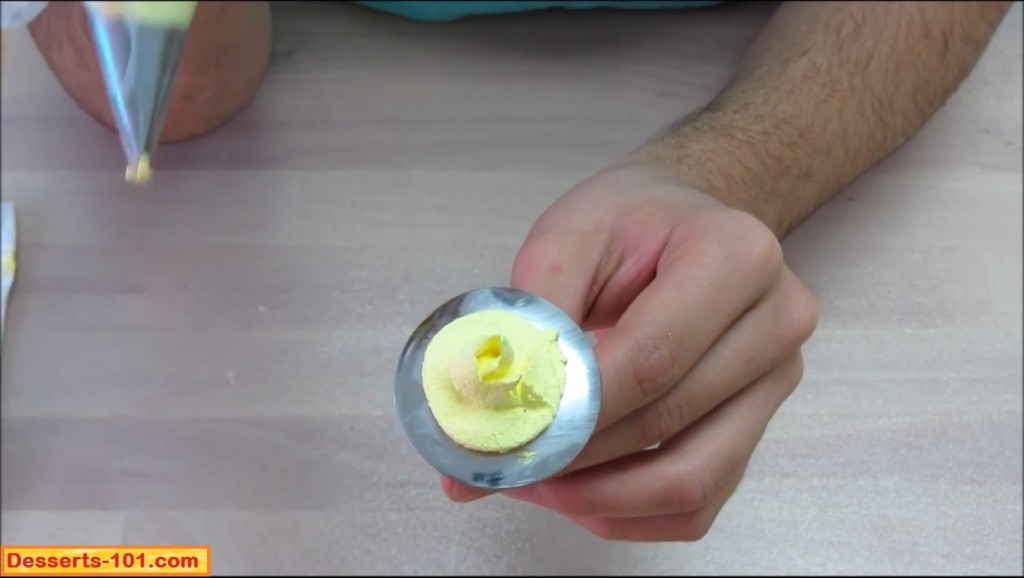
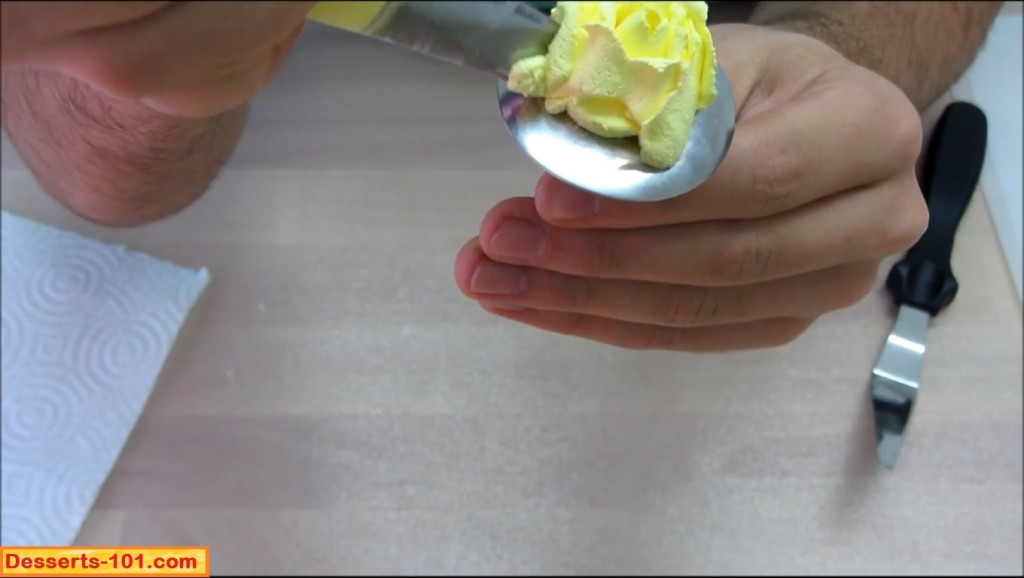
Next you make the center bud of the rose by holding your tip vertically with the wide end to the bottom. Start squeezing the pastry bag and allow some icing to come out and connect to the icing mound, not raise the tip and rotate the flower nail with your fingers to complete a circle of icing. Once you complete the circle, lower the tip down to secure the end to the base mound.
- Pipe the center bud of the rose with the wide end of the petal tip toward the base. Start with even pressure and then lift up while squeezing out icing and rotating the flower nail with your fingers. After you complete a revolution, lower you tip to secure the end to the icing mound.
- Center Bud of the buttercream rose completed.
Pipe the 2nd row of petals of the rose
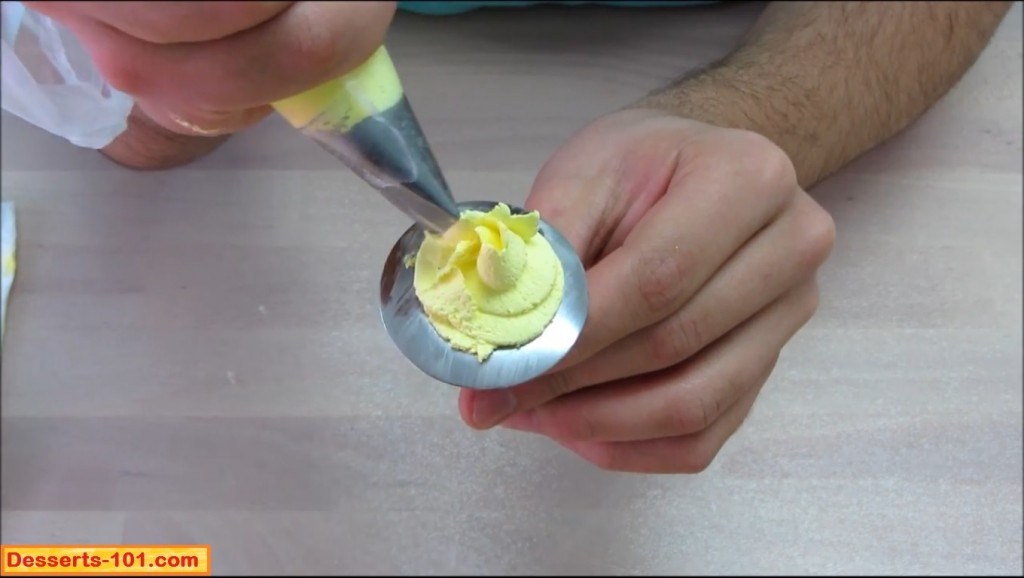
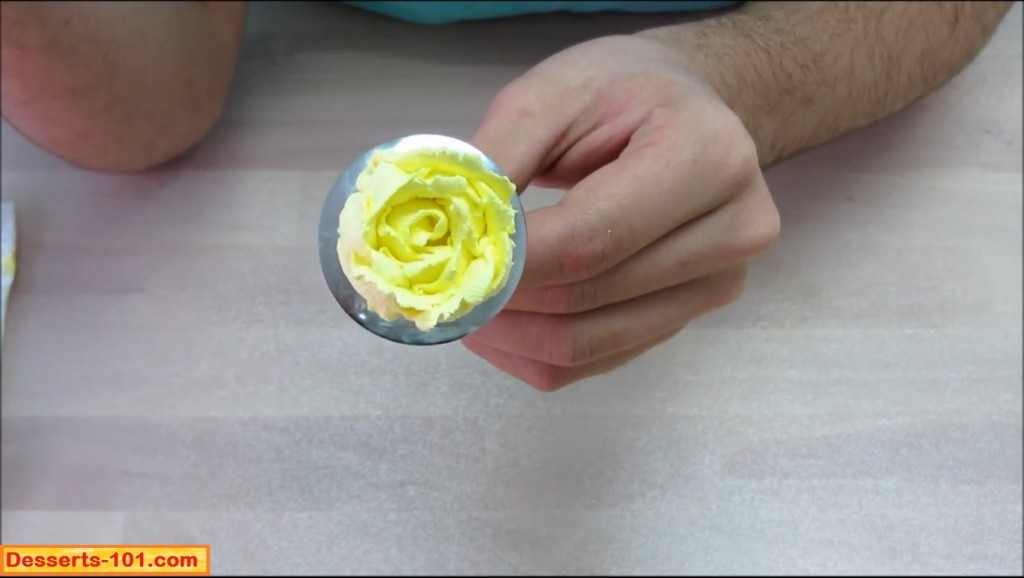
Time for the second row of petal. Start the same as before, Hold the tip with the wide end to the base, squeeze the icing bag and raise the tip while rotating the flower nail slightly. Lower the tip to secure the end to the base. Pipe the next petal by starting slightly before the end of the first. Repeat with more petals until you have completed this row.
- Pipe a second row of petals start with the wide end of the tip down, lift up while squeezing and rotate the flower nail then bring the tip down to the mound to finish the petal. This row should be 3 to 5 petals.
- Finishing up the 2nd row of petals on the buttercream rose.
- Completed buttercream rose with a center bud and 1 row of petals.
Pipe additional rows of petals
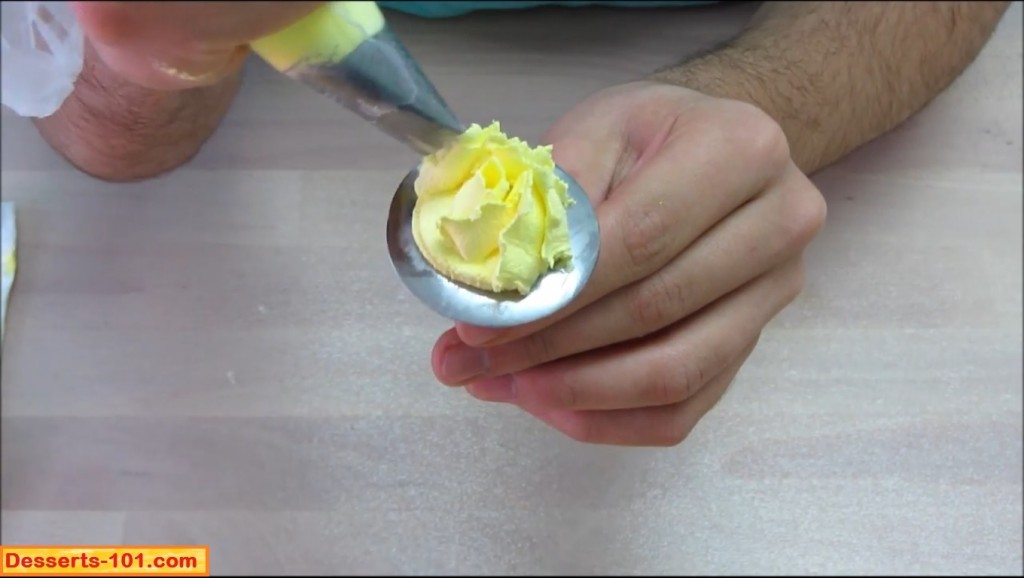
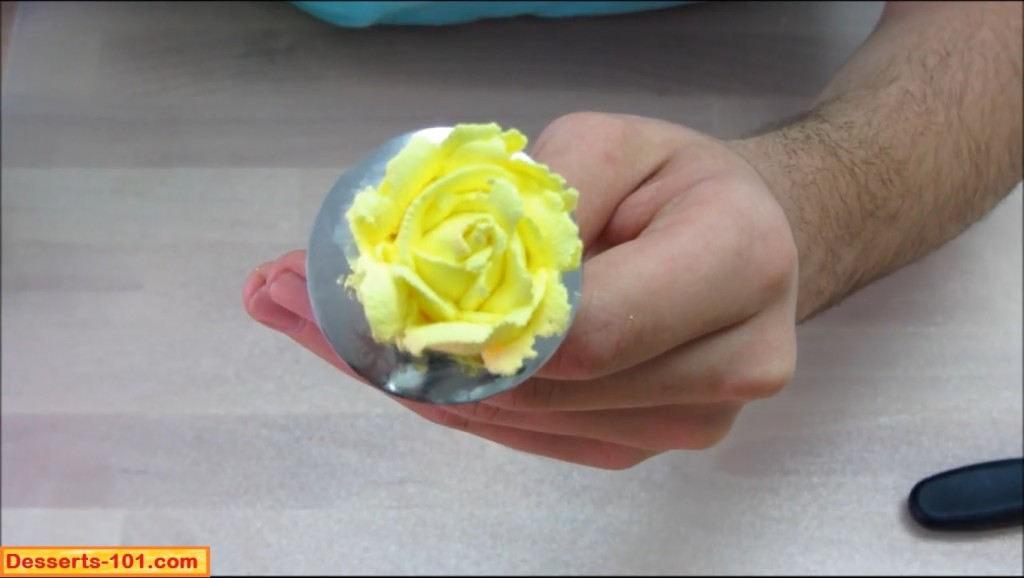
Add additional rows of petals as desired. You might need to hold the narrow end of the tip slightly lower than the rose.
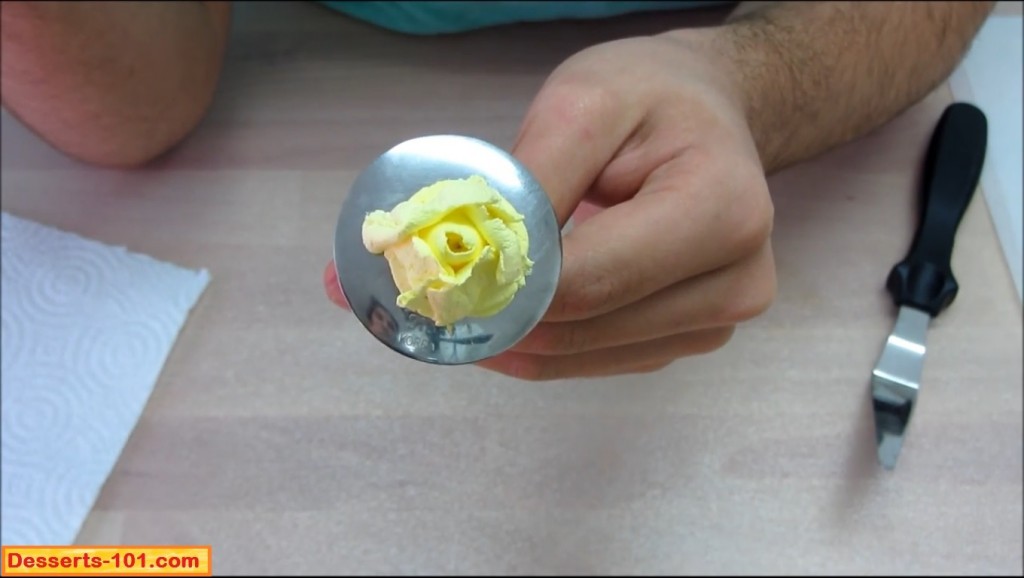
- Add a third row of petals, same as the second. Continue with additional rows as desired.
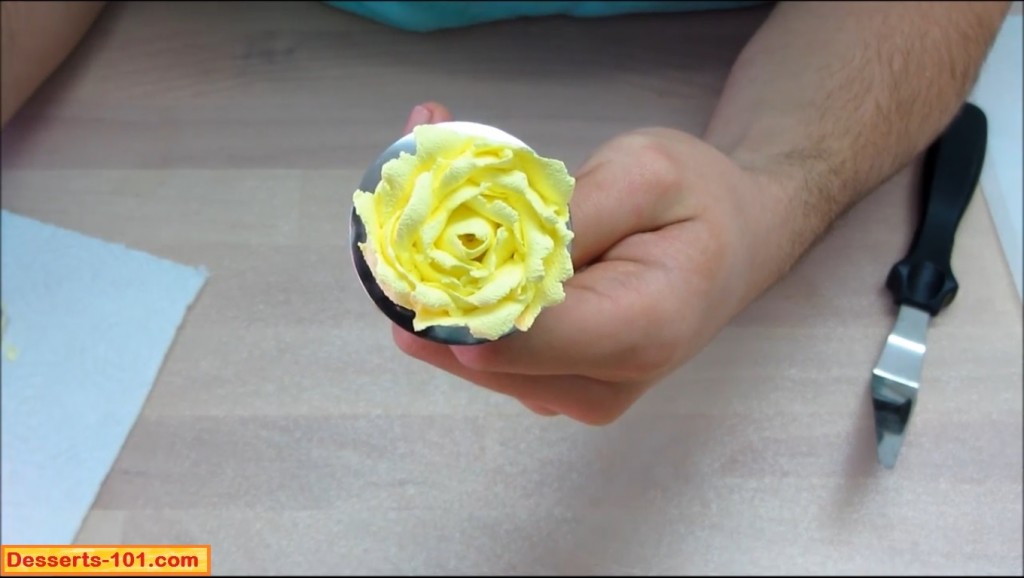
- Learn how to make buttercream roses using a petal tip and a flower nail.
- Completed second buttercream rose.
- Completed third buttercream rose.
Transfer completed buttercream rose to parchment paper or tray
If you piped directly on the flower nail like you, it is time to transfer the completed rose to a piece of parchment paper so we can freeze the rose prior to placing on the cake. Freeze the rose does not lessen the quality at all, but what is does is make it much easier for us to handle them when placing on the cake.
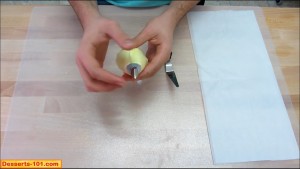
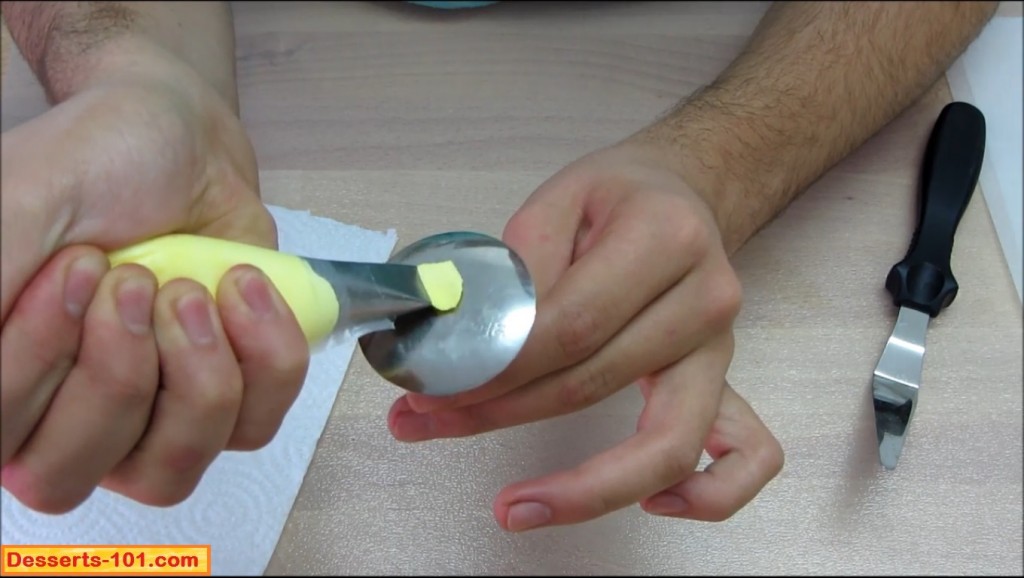
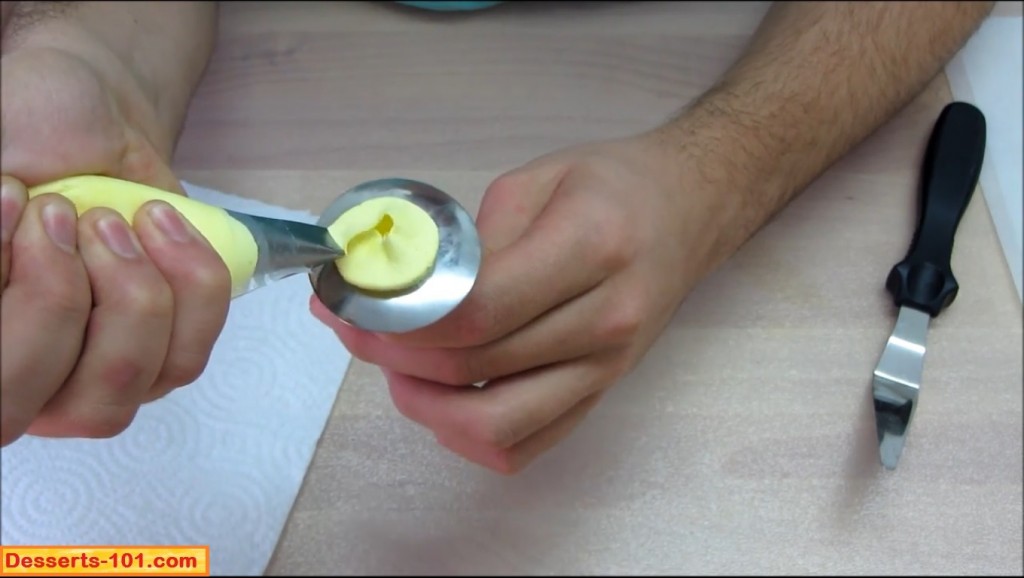
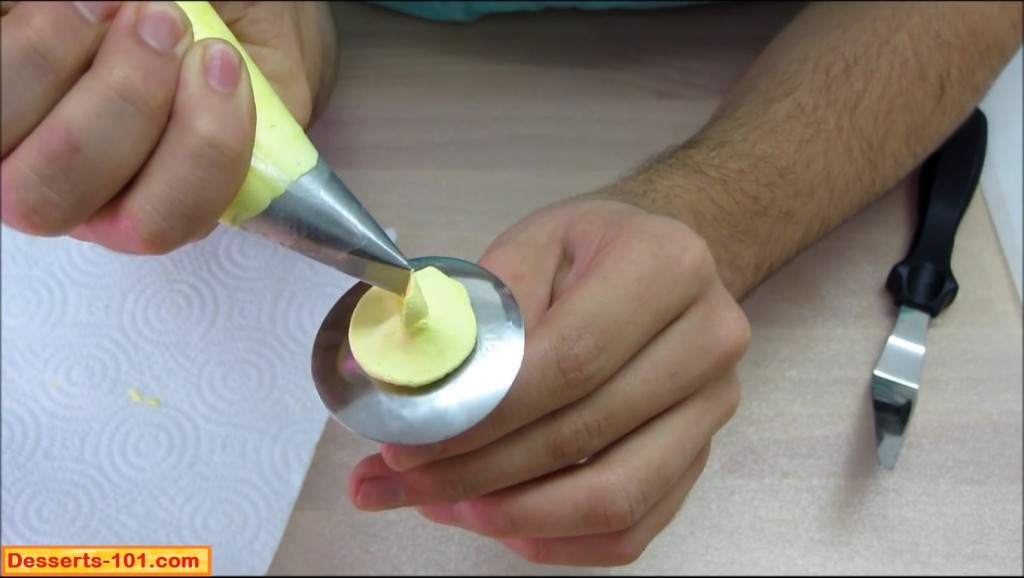
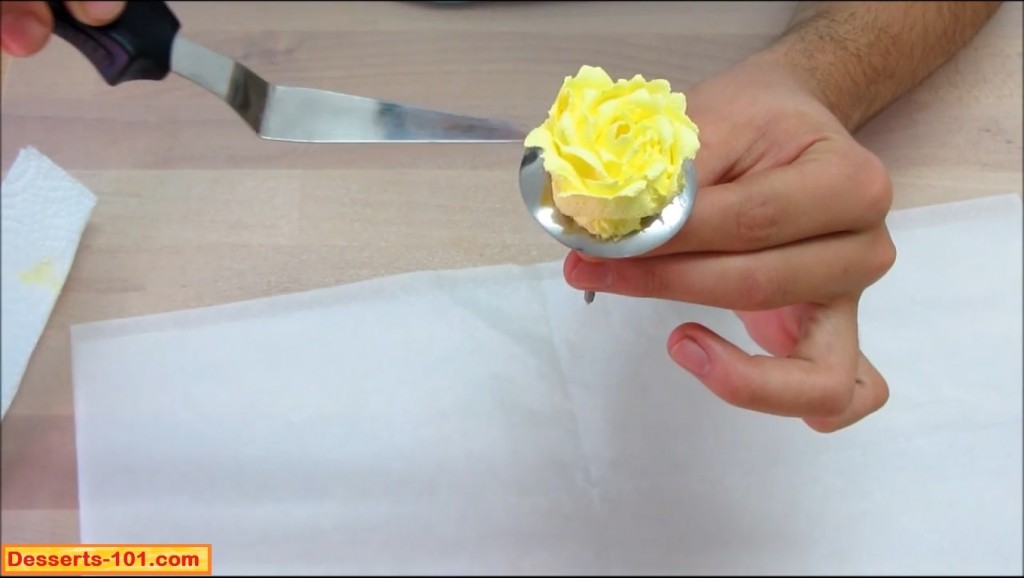
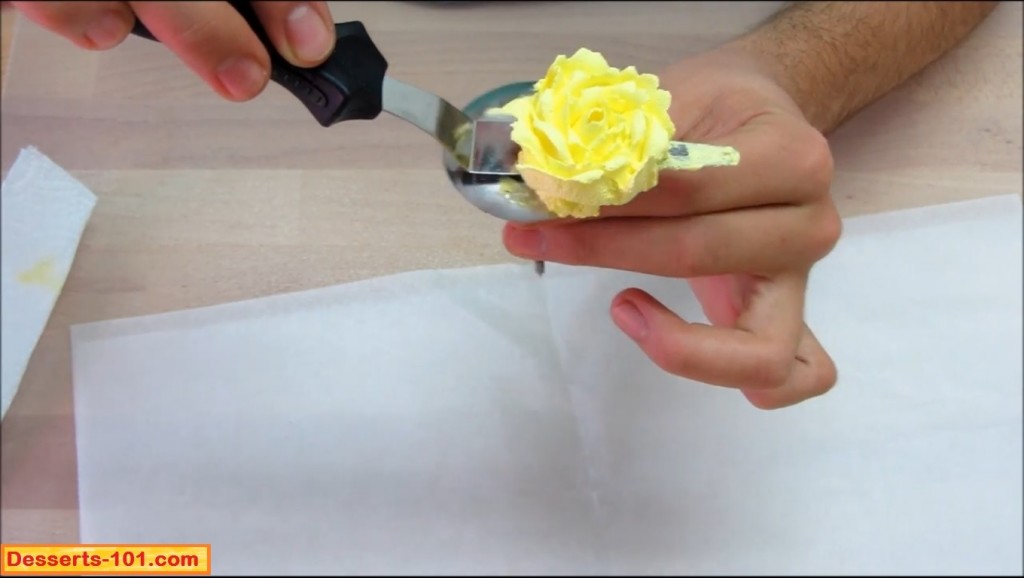
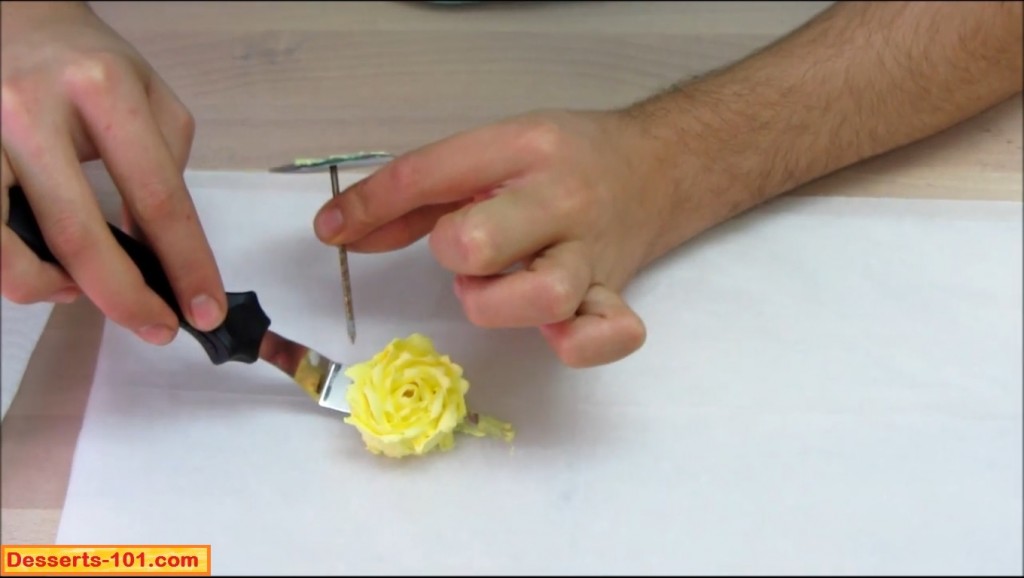
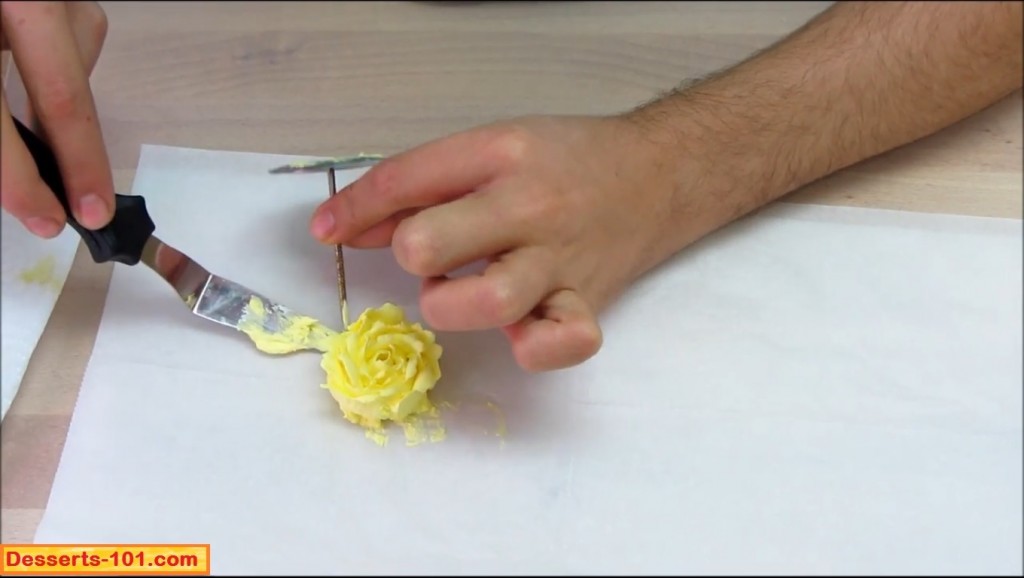
To transfer the buttercream rose from a flower nail, slide the rose onto an offset tapered spatula. (some people will use scissors, but I make many roses for my business so I take this easy short cut.) Once you have the buttercream rose on the spatula, lower to the parchment paper and with the aid of the flower nail point, slide it off the spatula onto the paper.
- Getting ready to use offset tapered small spatula to transfer rose from the flower nail to the piece of parchment paper.
- Slide spatula under rose and pick up rose from flower nail
- Use the tip of the flower nail to push the buttercream rose off the angled spatula onto a piece of parchment paper.
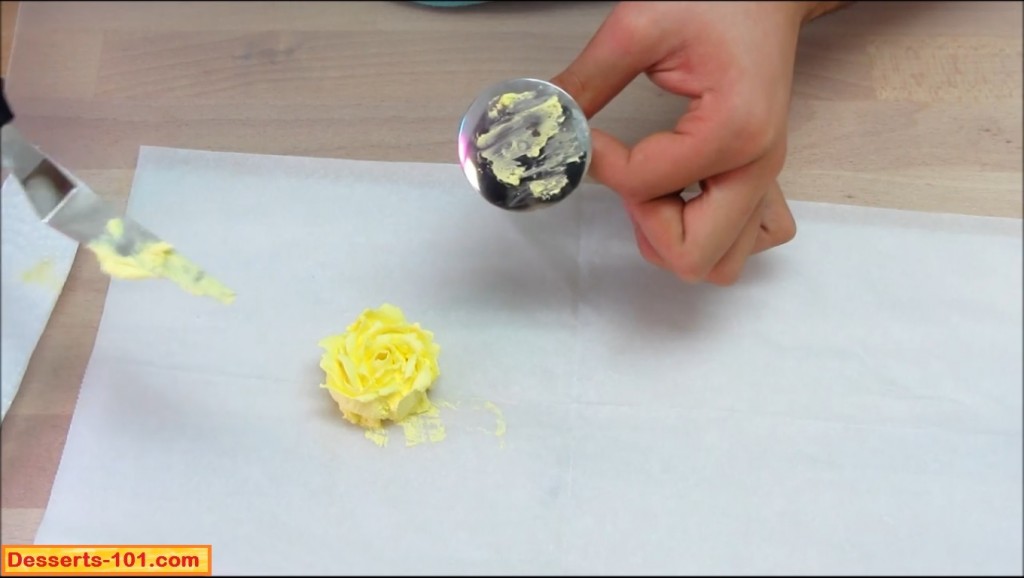
- Transfer from the tapered spatula to the paper has been completed.
Clean the spatula and flower nail then repeat the process to make all of your buttercream roses.
Repeat making buttercream roses until you have made all you wanted.
Remember to make additional roses since a few may break in storage or handling. Or you may like ones more than others.
Freeze the buttercream roses to set
Place frozen buttercream roses on cake.
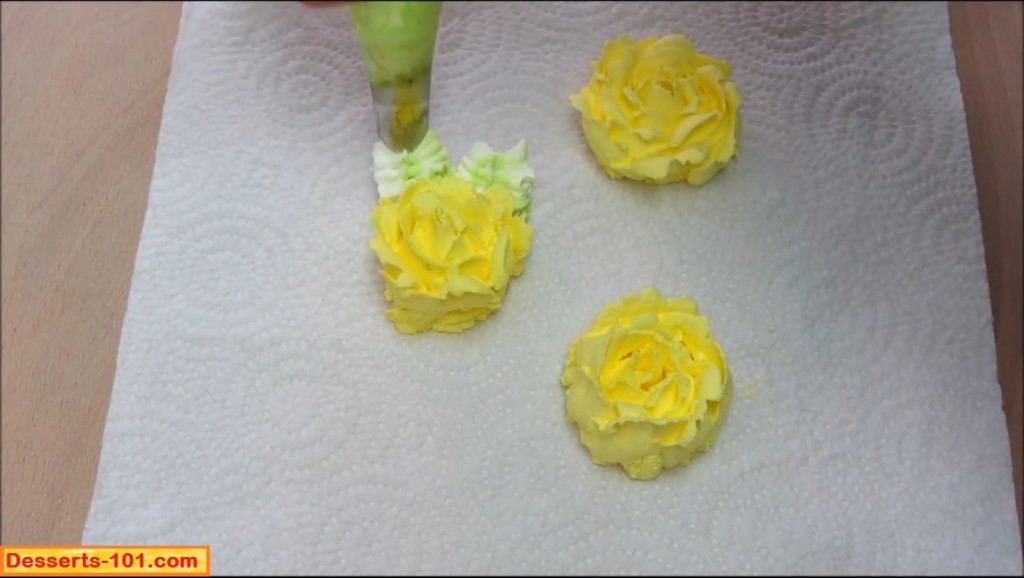
You will find it is much easier to place the frozen roses on a cake. When frozen the icing holds it shape. Do not worry, they thaw very quickly. In my demonstration here, I will be placing the roses on a piece of paper towel since this is practice. If you want to do a fancy job, I would add some stems piped with an Ateco #2 or #3 straight round tip and place my roses on the stems.
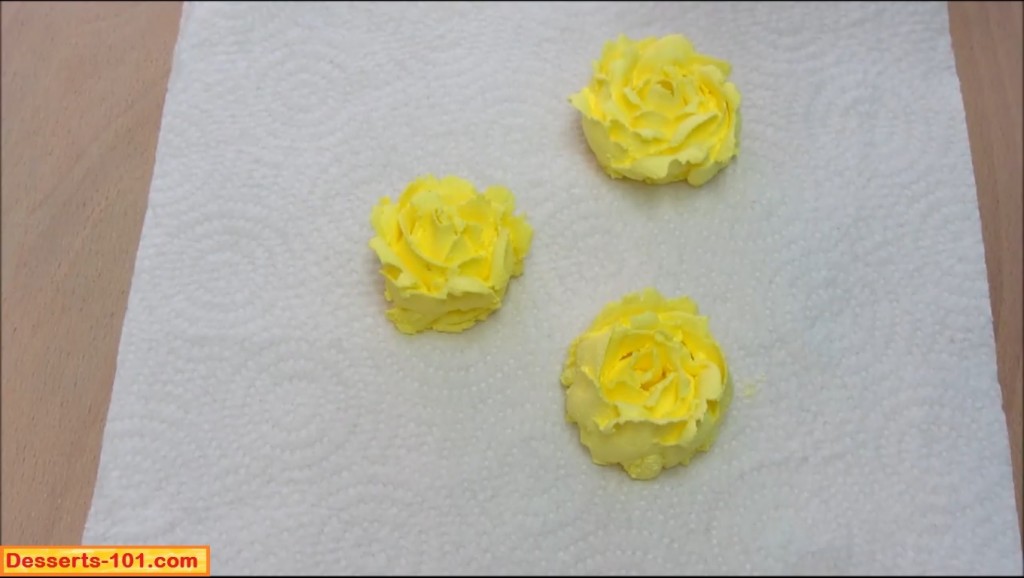
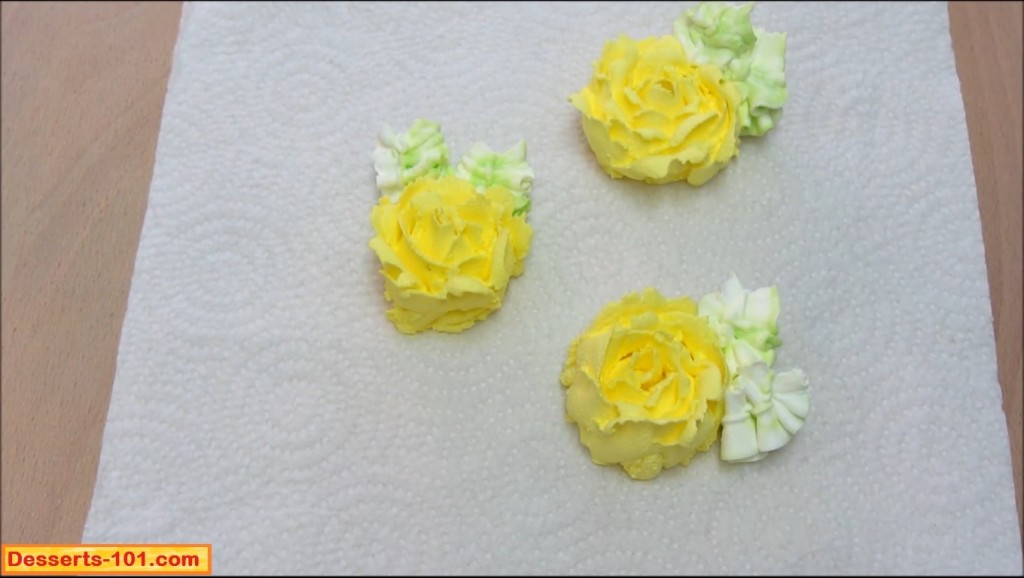
After all the roses have been make and frozen, they were placed on this paper towels to simulate a cake top.
Add leaves.
Using some green icing, pipe some Ateco #68 leaves to the roses. Place the leaves as desired. Remember, leaves can hide some minor imperfections in the sides of the roses.
- Pipe green Ateco #68 tip leaves as desired.
- Learn how to make buttercream rose using a pastry bag fitted with a petal tip and a flower nail. The completed buttercream roses and then placed on parchment paper so they can be frozen prior to placing on a cake and the additional of leaves.
Watch how to make buttercream roses.




Hi Joseph,
I love your work! I really like the way your explain things.
Thank you for putting so much time in this videos and special thank you for sharing your knowledge with us.
Best,
Veromila