A quick tutorial on how to put together a 1/4 sheet chocolate cake (2 layers with hazelnut whipped cream filling), iced with stabilized whipped cream, decorated with sweetened coconut, icing, and Christmas themed picks.
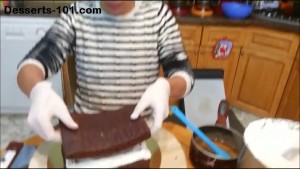
We are going to be using stabilized whipped cream for the icing. Pipe some icing on the cake serving board to hold the cake in place. Place the bottom cake layer on tio and brush with simple syrup.
-
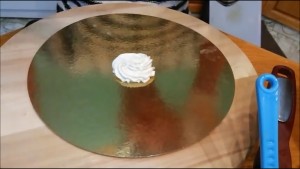
- Place some whipped cream on the serving board to hold the cake in place.
-
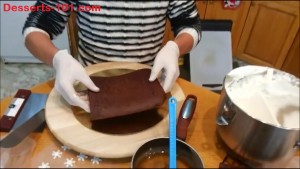
- Place the bottom layer of cake on the board.
-
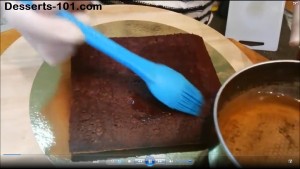
- Sprinkle with simple syrup.
Build an icing dam by piping a border around the cake. This dam serves to hold the filling inside. Add the hazelnut whipped cream filling and level. Place a cake layer on the top.
-

- Build a whipped cream dam to hold in the filling.
-
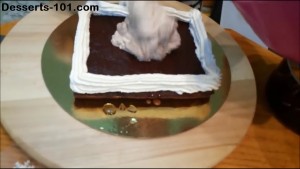
- Add the hazelnut cream and smooth.
-
- Add a the next cake layer on top.
Use an offset spatula to smooth the sides of the cake. Since I had a filled piping bag, I used that to apply the icing to the sides of the cake, Smooth. Also ice the top of the cake. I was running out of icing which is why I ended up with some very thin spots.
-
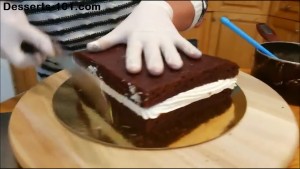
- Smooth the sides of the cake.
-
- Apply whipped cream to the sides of the cake.
-
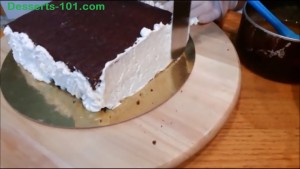
- Smooth with a spatula. Also ice the top of the cake with whipped cream.
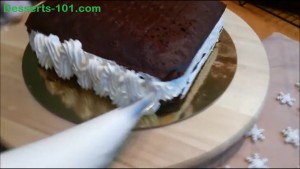
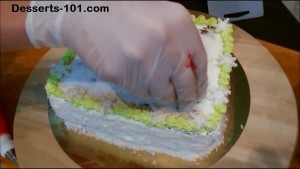
Press sweetened coconut flakes into the sides of the cake to represent snow. Pipe a green shell border around the top edge, Change to a leaf tip and pipe 3 leaves in one corner to represent a piece of holly.
-
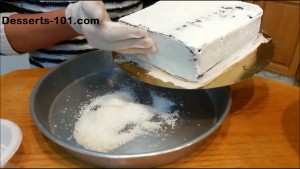
- Press coconut flakes into the sides of the cake.
-

- Add a shell border around the top of the cake.
-

- Add 3 leaves for the holly decoration.
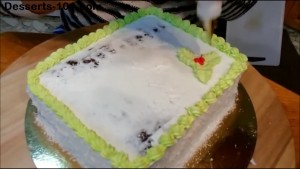
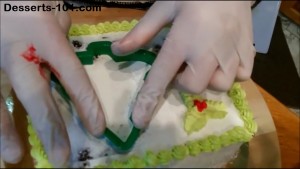
Add 3 red holly berries to the center of the leaves. Use a large Christmas tree cookie cutter to make an impression on the cake top. This will be a guide for the tree.
-
- All the three red berries to complete the holly decoration.
-
- Using a Christmas tree cookie cutter, mark the cake.
-
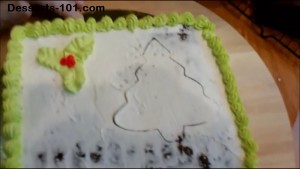
- You can see a good tree outline.
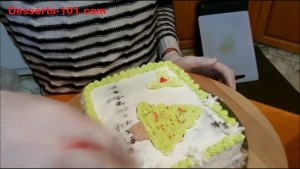
Switch from a leaf tip to a star tip and fill in the Christmas tree. Sprinkle colored nonpareils on the tree to represent lights. Use some nutella whipped cream (brown) to represent the tree trunk.
-
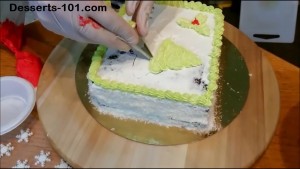
- Fill in the tree outline with green icing.
-
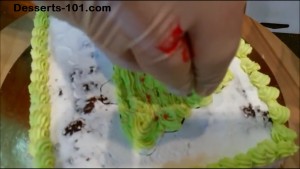
- Add colored nonpareils for the lights.
-
- Use some hazelnut whipped cream for the tree trunk base.
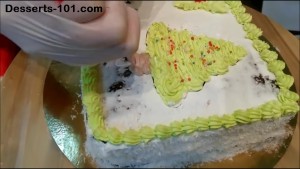
Use the pre-made fondant snowflakes and space around the outside border. Use some coconut flake to represent snow under the tree . I also used it to cover up some thin icing areas.
-
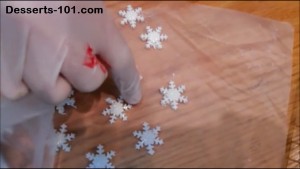
- These are fondant snowflakes with edible glitter added to make them look wintery,
-
- Add the snowflakes around the top border.
-
- Add coconut snow below the tree base and to help cover the thin spots.
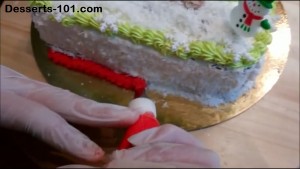
Add some red squiggly lines to represent garland hanging at the top of the cake. Add various Christmas themed decorating picks. Change the red round top to the pedal tip and pipe a ruffle border around the base.
-
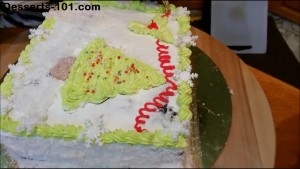
- Add some red garland on the top.
-

- Add various Christmas theme picks.
-
- Add a red zigzag base border.
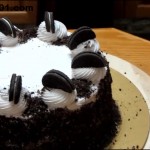
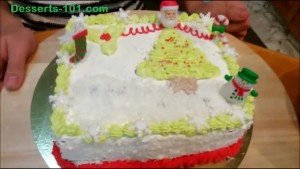
Happy Holidays!
The finished cake! Happy Holidays!
Christmas Cake Tutorial Recipe
- Stabilized Whipped Cream
- The Best Secret Chocolate Cake Recipe
- Hazelnut Whipped Cream (made by adding some nutella to some stabilized whipped cream and mixing together well.)
- Simple Syrup
- Sweetened Coconut Flakes
- Red Food Coloring
- Green Food Coloring
- Cake Board
- Large Christmas Tree Cookie Cutter
- Pastry Bag and coupler
- leaf decorators tip
- star decorators tip
- petal decorators tip
- Christmas Themed Picks - Assorted
- Pastry Brush
- Knife
- Fondant Snowflakes - fondant snowflake cutter, edible glitter
- offset icing spatula
- Decorate per video.
Watch My Christmas Cake Tutorial