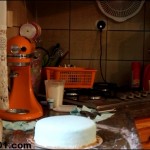
With a professional cake looking cake, you do not want it to be domed. Trim it off is what you say! So easy when you have the right technique and materials.
I like using cake that has been frozen and removed from the freezer for 15 to 20 minutes. I get less crumbs this way, though it is a little harder slicing.
Equipment Needed to Slice cake into Layers
- Knife – I find a serrated or a bread knife works for this.
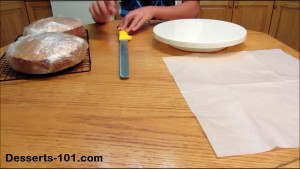
Equipment and materials needed to slice a cake into layers.
- Parchment Paper – a clean surface to place you cake pieces on. You can use a plate or plastic wrap.
- Turntable or Lazy Susan – Hopefully you will have one that is sturdier than mine. You turn the cake and turntable while keeping the knife level in place.
- Cake Layers – I like used layers that have been frozen and pulled out of the freezer about 15 to 20 minutes before I cut them. This helps keep down crumbs.
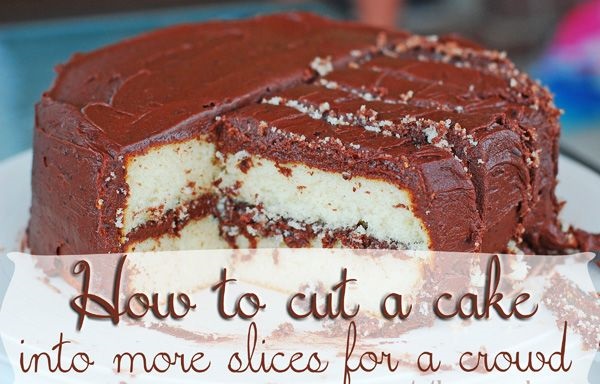
How to Slice a Cake and Get Ride of the Dome.
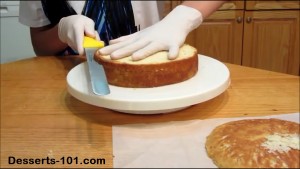
Place the frozen cake on the turntable (thawed for about 15 to 20 minutes). Using a serrated knife, keeping it level, place at the edge you want to cut at, rotate the cake layer and turntable into the knife blade. Once you make your first cut around the circle, you can start making slicing with the knife, remember to keep the knife level and to turn the cake on the turntable.
-
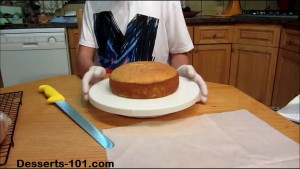
- Place unwrapped cake onto turntable.
-
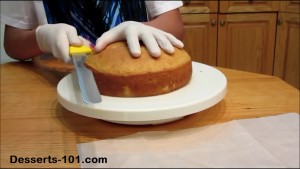
- Start with level serrated knife at top edge and turn cake with turntable and slice against knife edge.
-
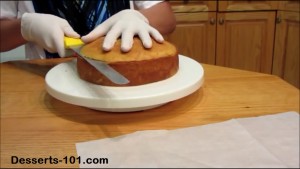
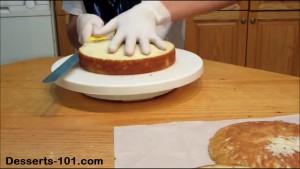
- Continue turning cake and doing some short knife strokes as you work your way towards the center.
Once through, place the dome part aside. This can be turned into cake crumbs for decorations, cake pops maybe even some ice cream or a parfait dessert.
-
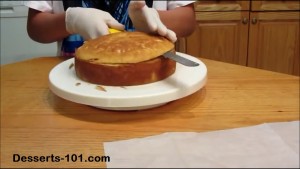
- Once you are past the center you should have a layer sliced off.
-

- Set this layer aside. It is not scrap. It can be ground into cake crumbs for use as decorations or made into cake pops. Or even used in ice cream.
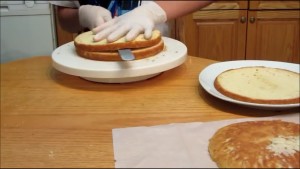
Slicing the layer into three pieces so place your knife about a third of the way down and slice just like removing the dome. Place the layer aside. To cut the last piece, you rut the remaining cake in half. Now you have three layers. On to decorating! Enjoy!
-
- I am diving this into three layer so I make the next cut just like the dome removal about a third of the way down.
-
- The last cut is in the middle of the remaining cake to give us three layers.
-
- Final cut on the middle layer.
Watch a video demonstration on How To Slicing a Cake Into Three Layers And Removing The Dome.